Setting Up a 3DNS Domain on Substack
Learn the step-by-step process of integrating an owned 3DNS domain with your Substack publication using custom domain setup.
How to Set Up a Custom Domain on Substack with 3DNS

Requirements
You must own an onchain domain from 3DNS.
You need to be the owner or group administrator of the Substack publication.
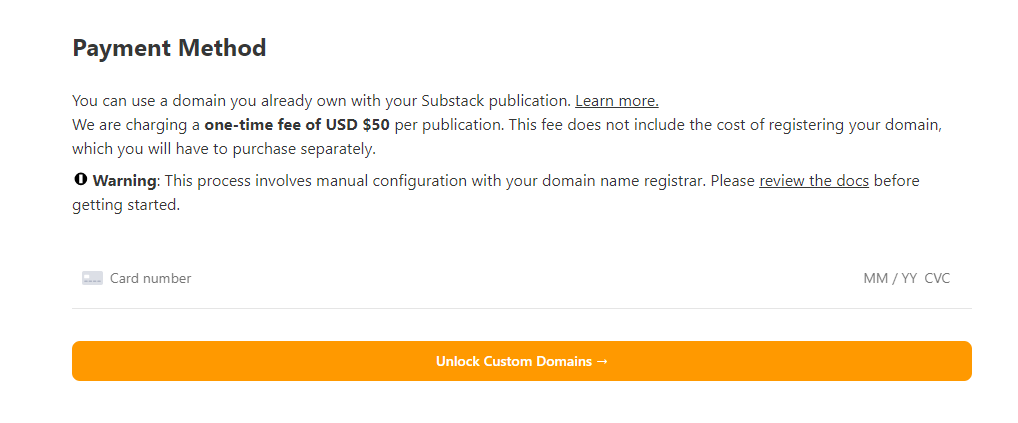
Substack charges a one-time fee of $50 USD to use a custom domain.
Step 1. Prepare Your Substack Publication
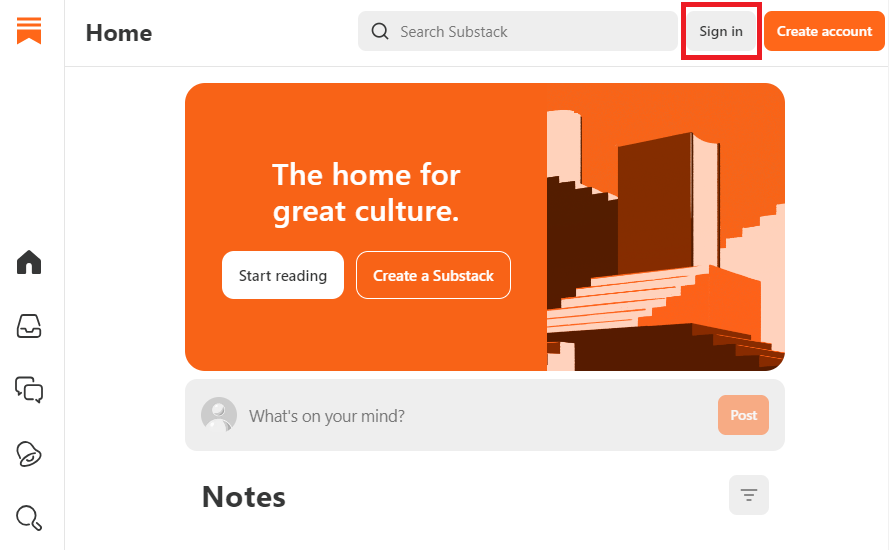
Log in to your Substack account.

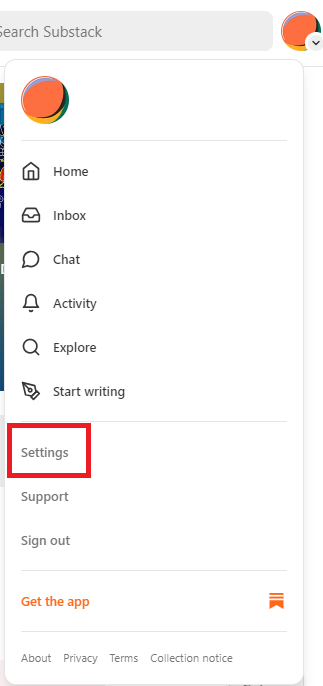
Navigate to your publication's Settings page.

In the left navigation bar, click on Domain.
Click the "Add custom domain" button.

Enter Payment Method.

Step 2. Enter Your Custom Domain
In the provided field, type the domain name you have registered with 3DNS.
Substack will then provide you with a CNAME record to configure on your 3DNS domain.
Step 3. Update DNS Settings for your 3DNS Domain
Log into the 3DNS app (app.3dns.box)
Find and click on the Web tab.

Select Add DNS Record under the DNS Records tab.

Add the CNAME record provided by Substack:
Type: CNAME
Host: The subdomain (e.g., www)
Points to: The value provided by Substack (e.g., substack-configured-domain.com)

After making the necessary modifications to the DNS records, ensure you select "Add Record" to save the changes.

Step 4: Verify Domain Setup on Substack
Return to your domain settings on Substack.
Follow any prompts to verify the domain connection. This may take some time as DNS changes can take up to 48 hours to propagate.
Step 5: Final Checks
Once your domain is verified, your Substack publication will be accessible via your custom domain.
Check the connection by typing your custom domain into a web browser to ensure it loads your Substack publication correctly.
Updated almost 2 years ago
