How to Transfer a Domain from Domain.com to 3DNS
Learn how to seamlessly carry out the process of transferring your domain from domain.com to 3DNS with this step-by-step guide.
Transfer a Domain from domain.com to 3DNS
Before You Begin:
DNSSEC: Disable DNSSEC in your domain settings before transferring.
Transferring a Domain from domain.com to 3DNS
1. Unlock Your Domain
Log in to your Domain.com Control Panel (https://secure.domain.com/secure/login.html).
Navigate to Domain Central and choose the domain you're transferring.
Hit Security > Unlock Domain.
2. Disable Domain Privacy
If you have privacy protection enabled, turn it off:
Log in to your Domain.com Control Panel.
Head to Domain Central.
Select your domain.
Click Security > Disable Domain Privacy.
3. Get the Auth/EPP Code
This code is crucial for transferring your domain securely.
Log in to your Domain.com Control Panel.
Go to Domain Central.
Pick your domain.
Click Transfer > Send Auth-Info Code. You'll receive the code via email.
4. Initiate the Transfer
Now that your domain is unlocked and you have your Auth/EPP code, you're ready to start the transfer to the new registrar. Follow their specific instructions for transferring in, often found on their website or help center.
With your auth code in hand, proceed to transfer your domain to 3DNS:
5. Visit 3DNS:
Go to the 3DNS app
6. Start the Transfer Process:
In the 3DNS dashboard, select the "Transfers" section.
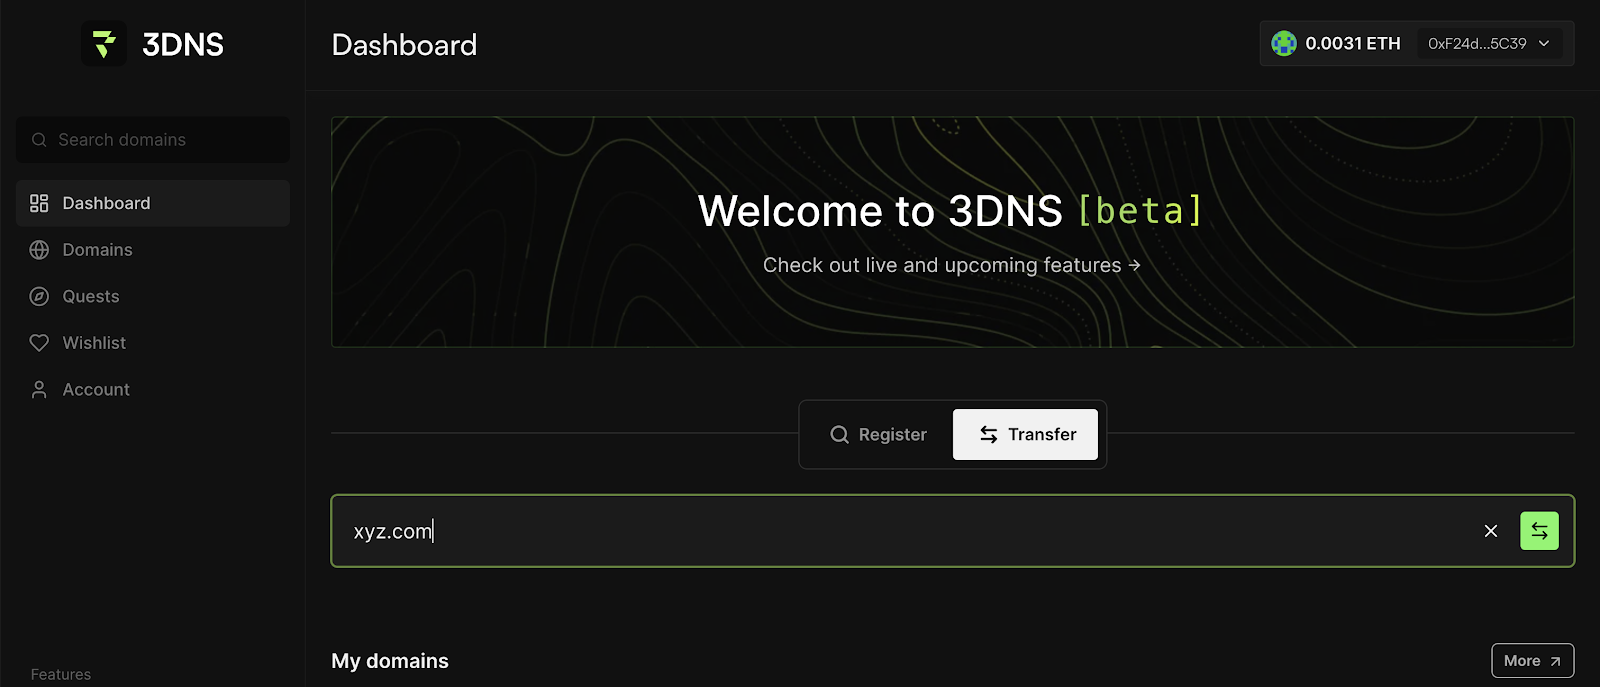
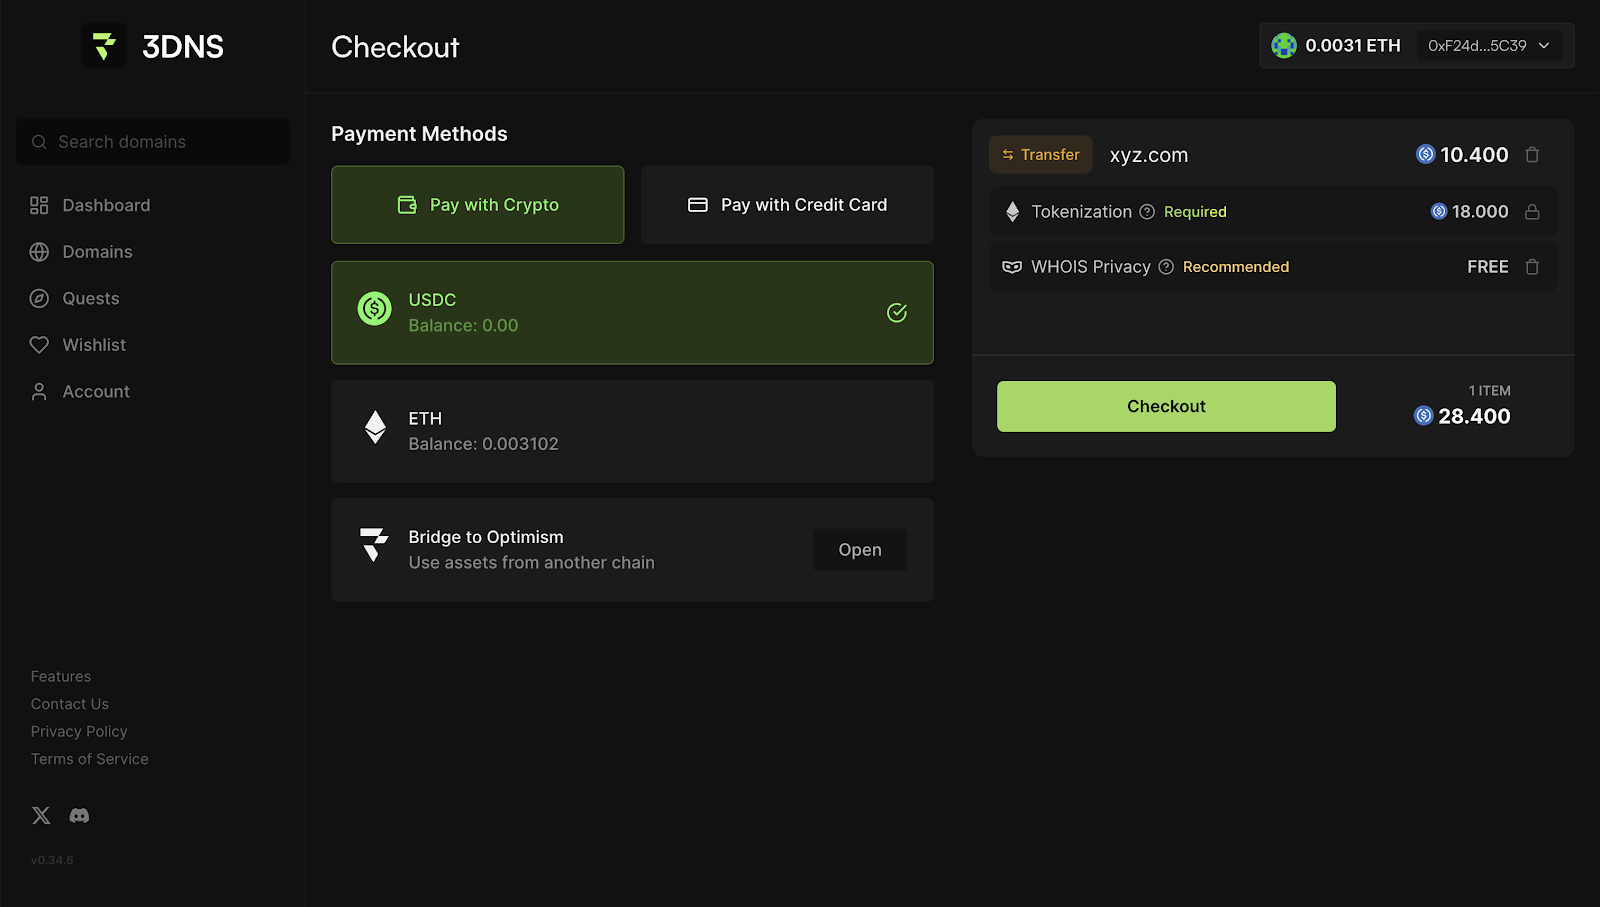
7. Add Your Domain and Checkout:
Enter your domain, add it to the cart, and complete the checkout process.
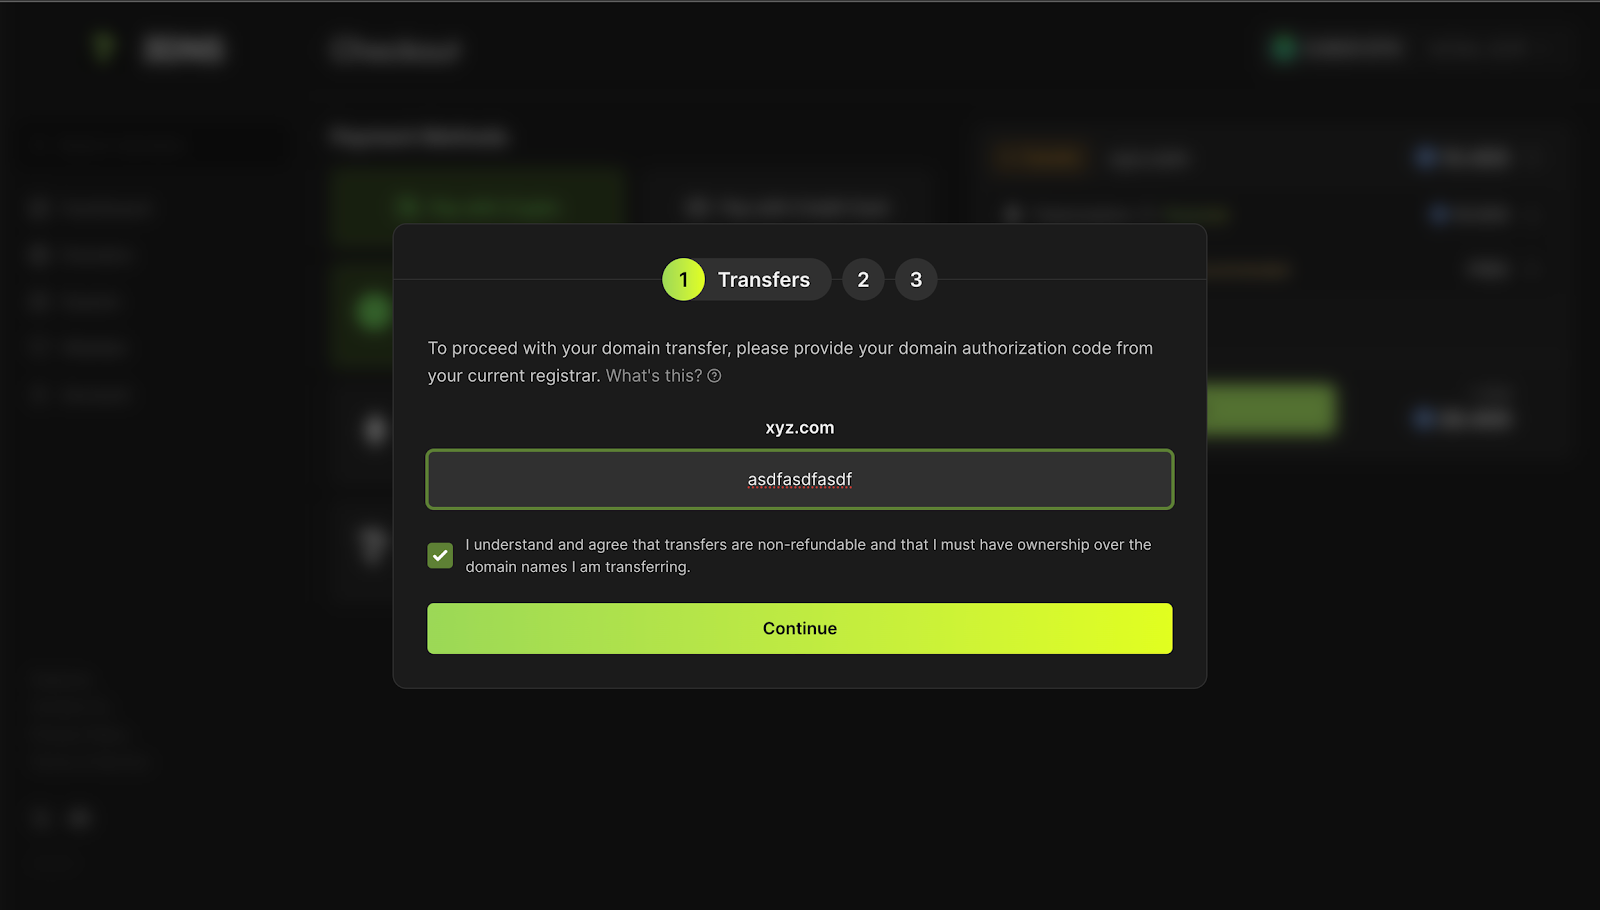
8. Insert authorization code from your current DNS provider
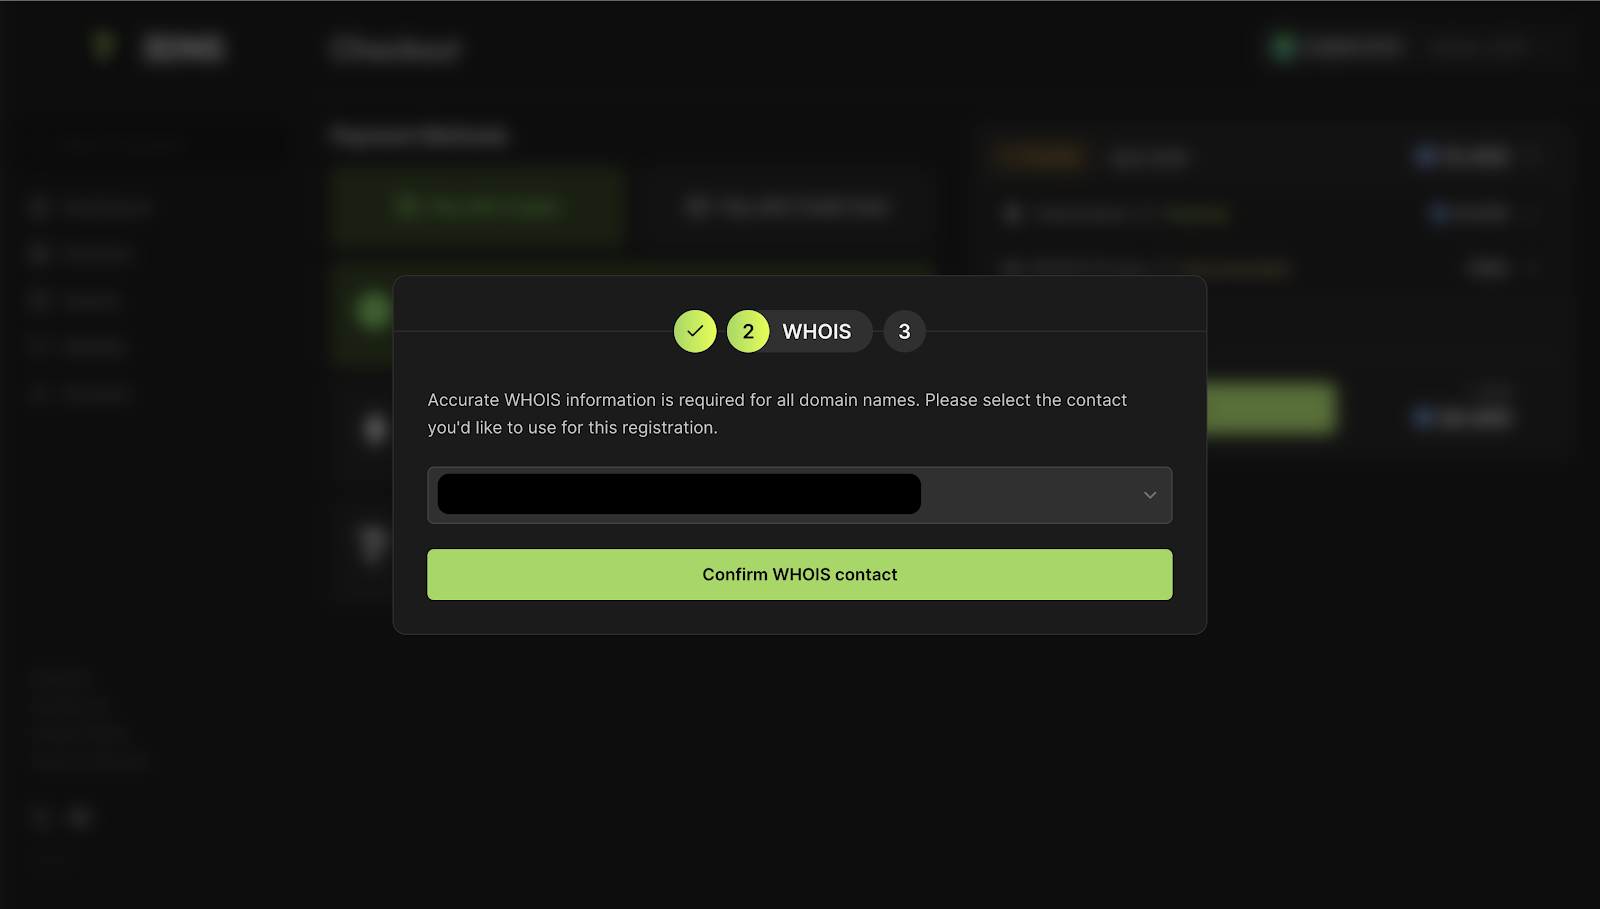
9. Confirm accurate WHOIS information, this is required for all domain transfers.
10. Monitor Transfer Status:
Keep an eye on your transfer under Domains > My Transfers. The status will update to "complete" once finished.
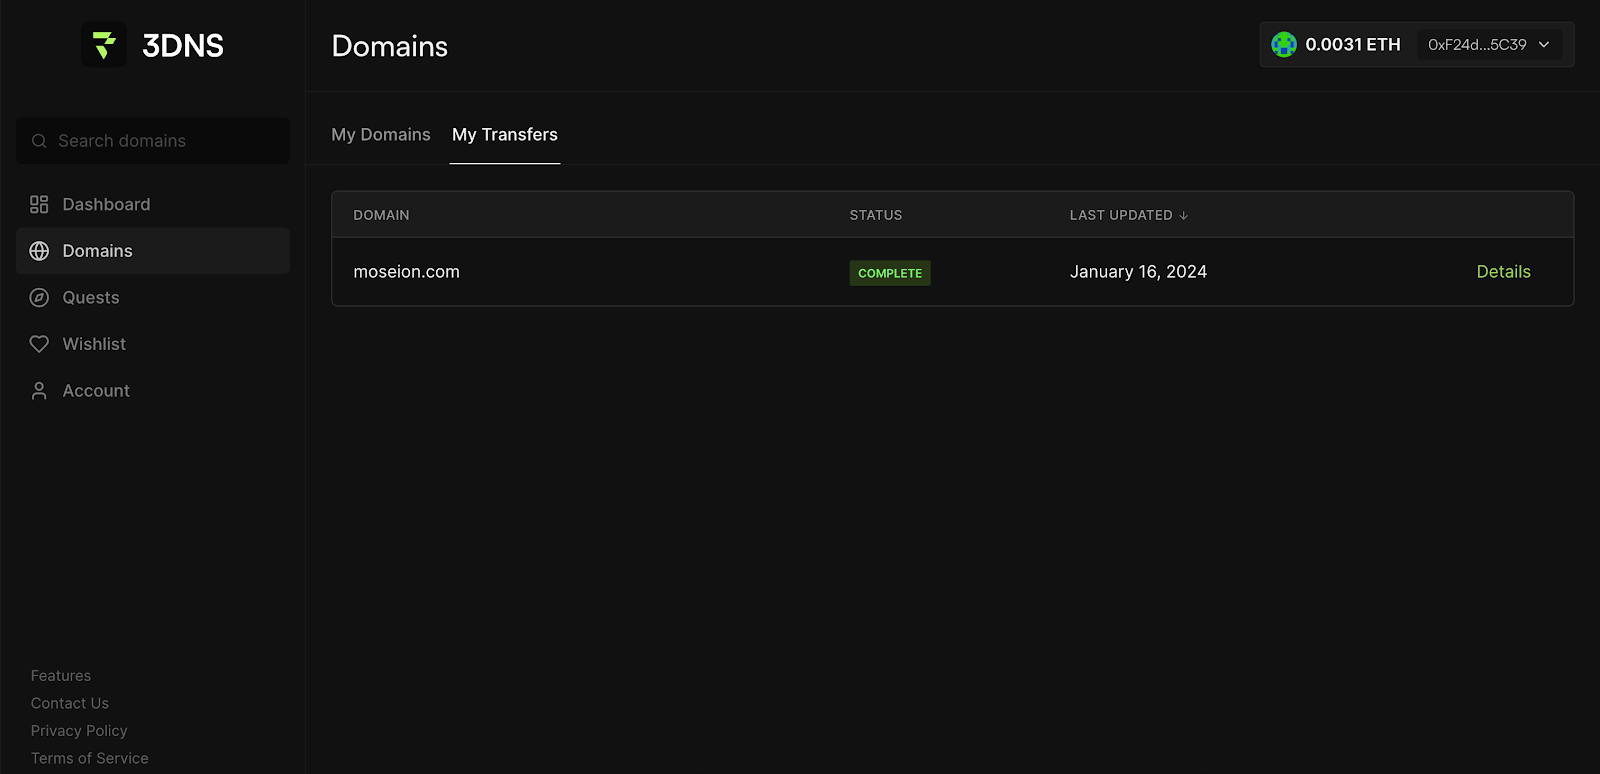
Congratulations, once the transfer is complete, your domain is successfully moved to 3DNS, making it an onchain domain! 🎉
\
\
Updated almost 2 years ago
