How to Transfer a Domain from Porkbun to 3DNS
Walk through the steps to move your domain from Porkbun to 3DNS, ensuring compliance with ICANN rules and maintaining domain security.
Transfer a Domain from Porkbun to 3DNS
Before You Begin:
Ensure your domain is ready for transfer by confirming:
Before you begin remove DNSSEC on your domain.
Domain Age: Has your domain been registered for over 60 days? If not, you'll need to wait until it hits the 60-day mark.
Stay Duration: Has your domain been at Porkbun for 60 days? ICANN rules require a 60-day stay at one registrar before moving to another.
Transferring a Domain from Porkbun to 3DNS
1. Unlock Your Domain:
Go to your domain settings and click on the green locked padlock icon next to your domain.

confirm you want to unlock it. You’ll see the icon turn yellow, meaning your domain is unlocked.
2. Get Your Authorization Code:
- In Domain Management, click on “Details drop down-list, then look for an option to “Get Authorization Code.”
- A pop-up will show your authorization code, also known as the EPP key. You’ll need this for the transfer.
With your auth code in hand, proceed to transfer your domain to 3DNS:
3. Visit 3DNS:
Go to the 3DNS app
4. Start the Transfer Process:
In the 3DNS dashboard, select the "Transfers" section.
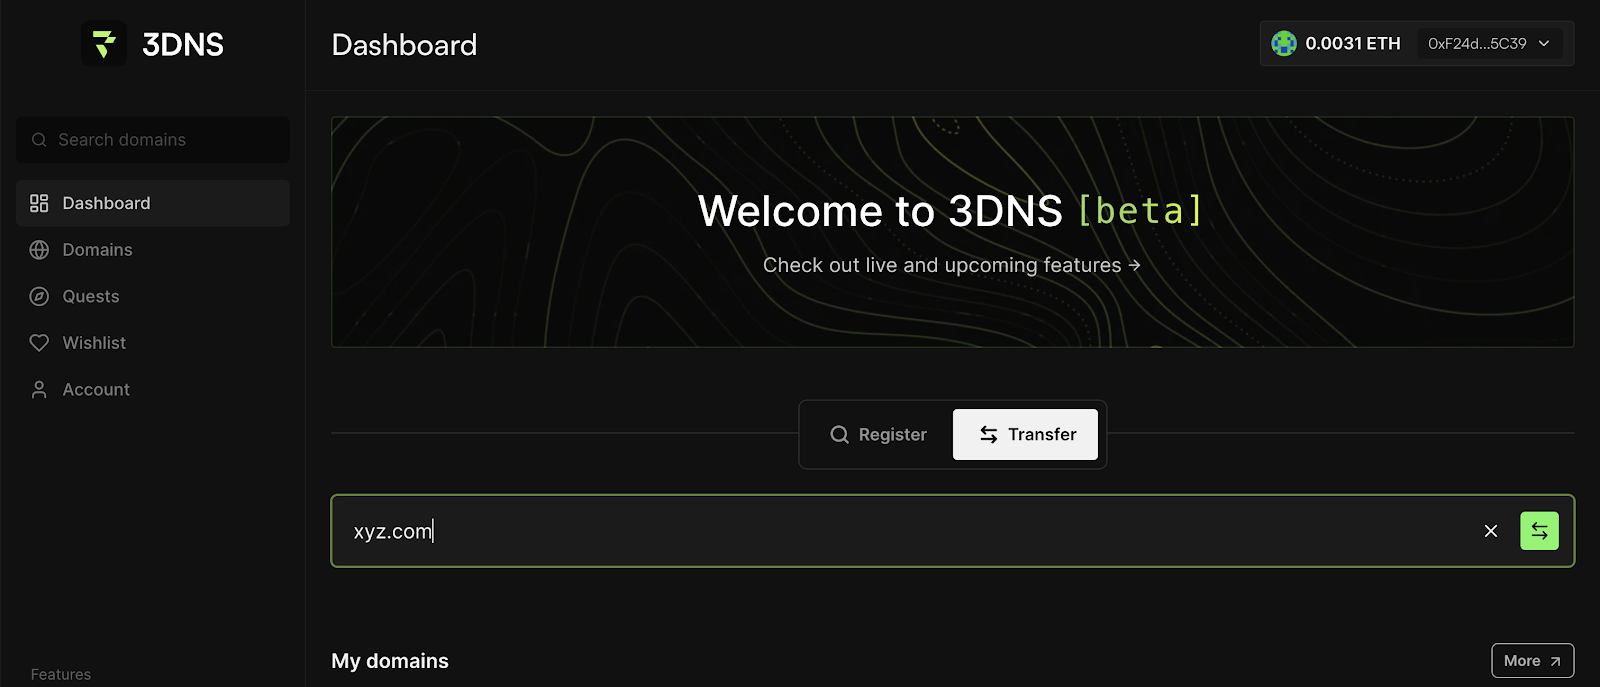
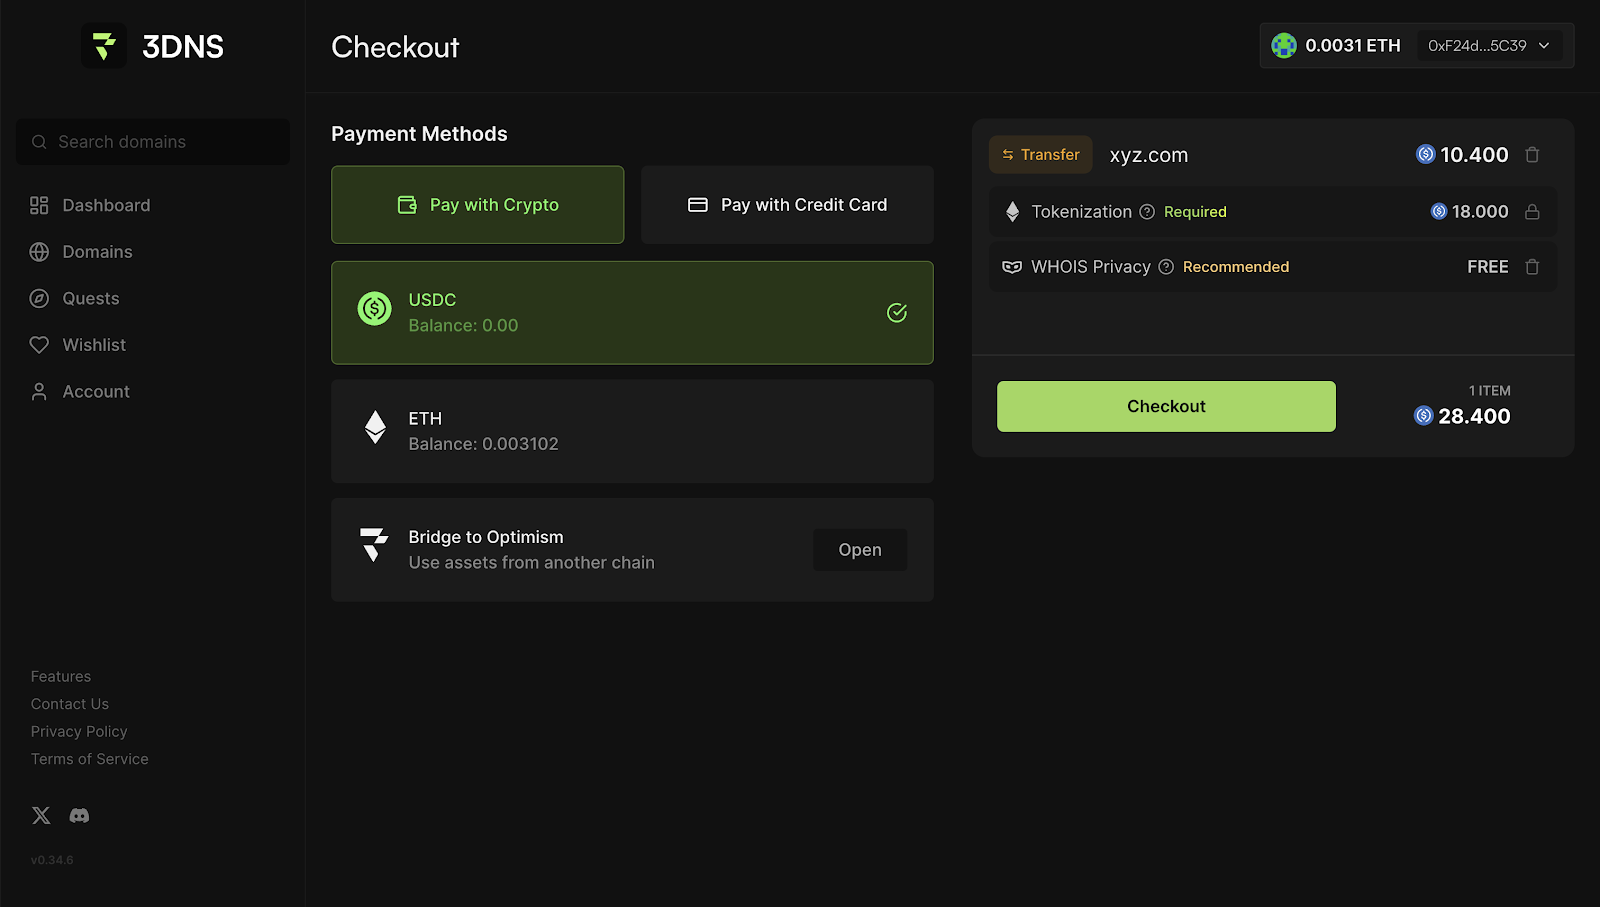
5. Add your Domain and Checkout:
Enter your domain, add it to the cart, and complete the checkout process.
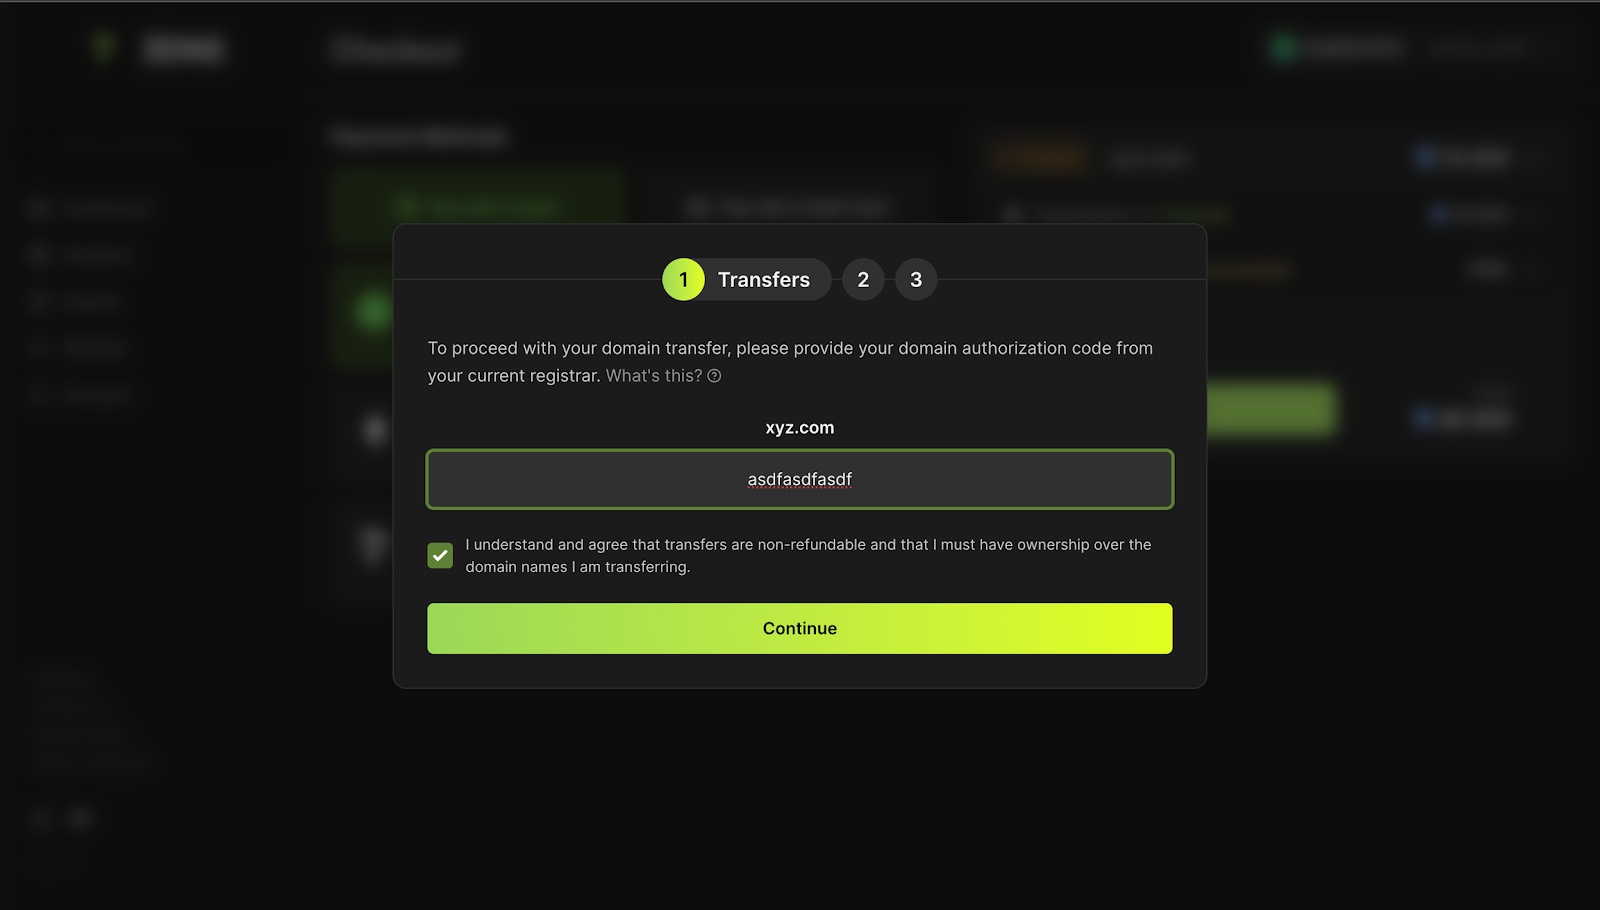
6. Insert authorization code from your current DNS provider
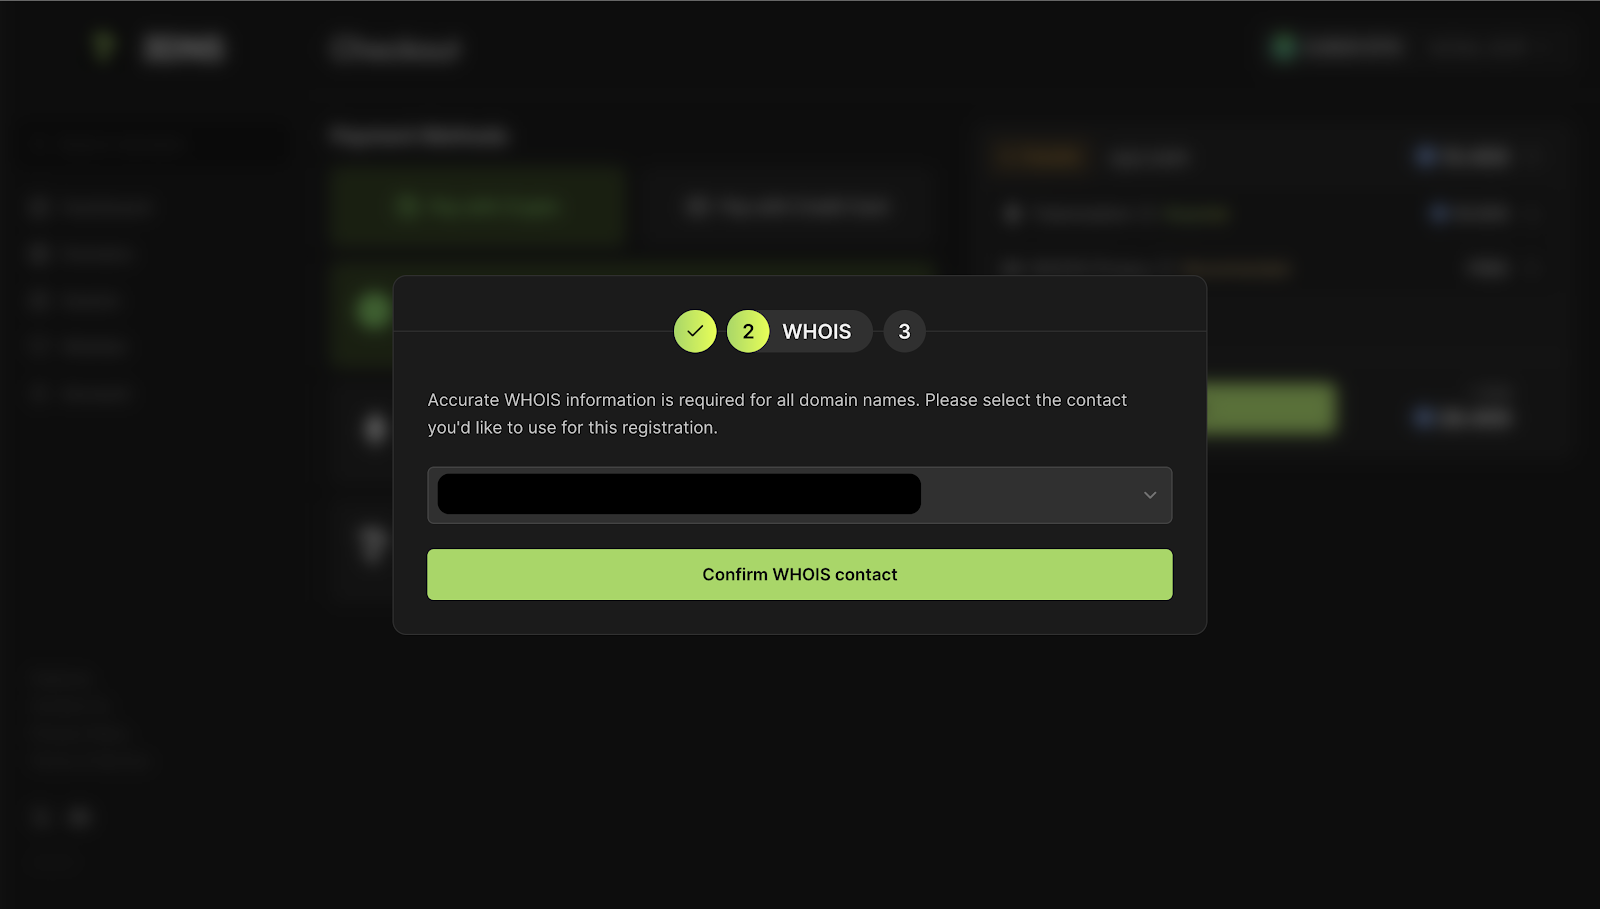
7. Confirm accurate WHOIS information, this is required for all domain transfers.
8. Monitor Transfer Status:
Keep an eye on your transfer under Domains > My Transfers. The status will update to "complete" once finished.
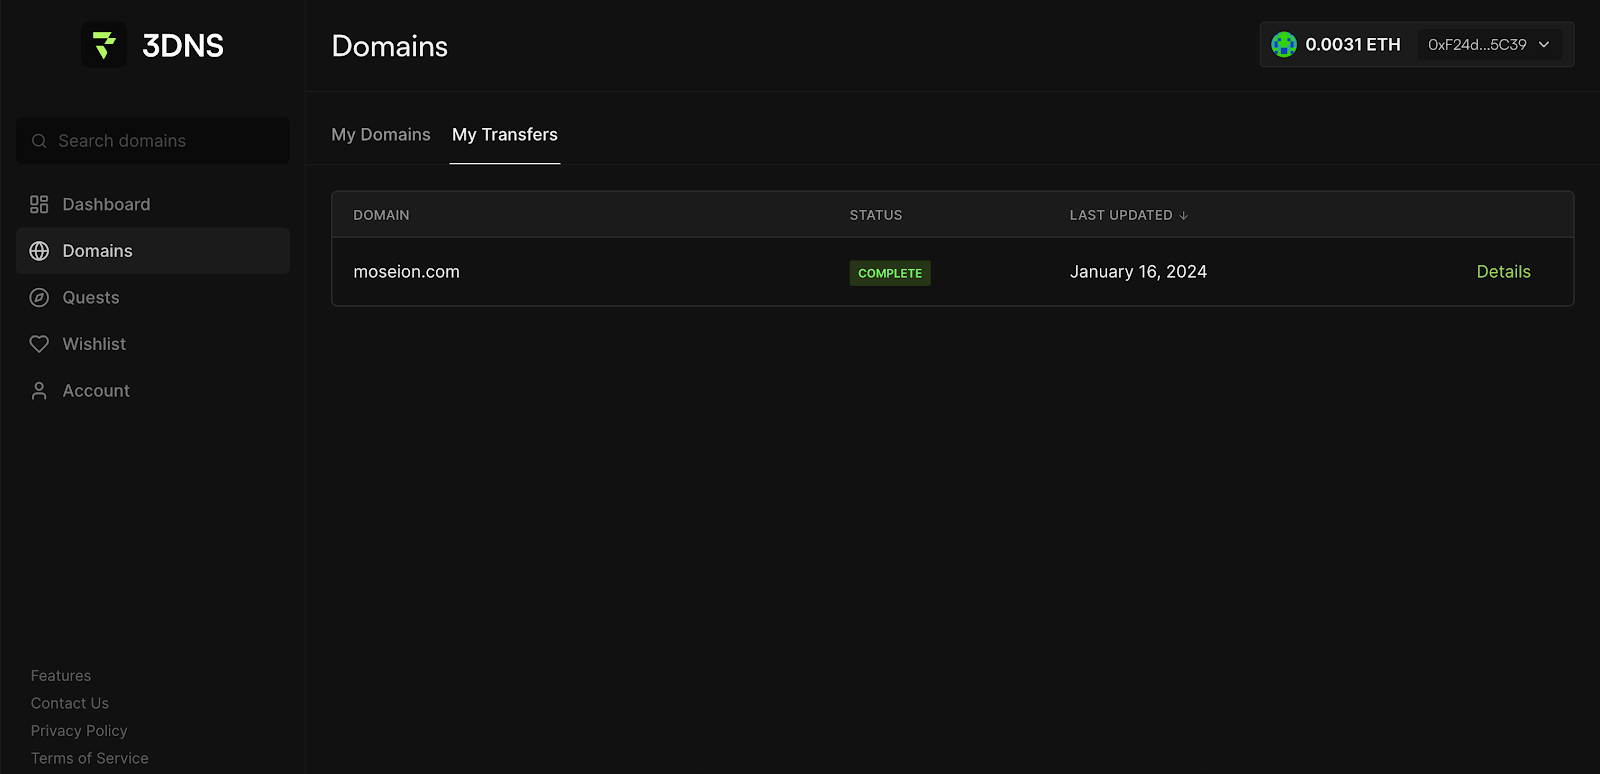
Congratulations, once the transfer is complete, your domain is successfully moved to 3DNS, making it an onchain domain! 🎉
Updated almost 2 years ago
