Setting a Custom 3DNS Domain on Tumblr
This guide provides comprehensive instructions on how to set up a custom domain on Tumblr using 3DNS, covering key topics such as DNS configurations, updating DNS settings, configuring Tumblr settings, and verification procedures.
How to Set Up a Custom Domain on Tumblr with 3DNS

Requirements
You must own an onchain domain from 3DNS.
Before starting, it's important to know which DNS records you'll need to modify. The specific records depend on whether you're using a root domain or a subdomain:
Root Domain: You'll need to set up an A record and a CNAME record.
Root Domain DNS Configuration
| Record Type | Name | Value | Purpose |
|---|---|---|---|
| A Record | @ | 66.6.44.4 | Directs your root domain to Tumblr's server |
| CNAME Record | www | domains.tumblr.com | Redirects 'www' prefix to Tumblr |
Subdomain: A CNAME record is required.
Subdomain DNS Configuration
| Record Type | Name | Value | Purpose |
|---|---|---|---|
| CNAME Record | [subdomain] | domains.tumblr.com | Points the subdomain (e.g., blog.mydomain.com) to Tumblr |
Step 1. Update DNS Settings for your 3DNS Domain
Log into the 3DNS app (app.3dns.box)
Find and click on the Web tab.

Select Add DNS Record under the DNS Records tab.

Add the CNAME provided by Tumblr, the CNAME differs depending on your domain type.

After making the necessary modifications to the DNS records, ensure you select "Add Record" to save the changes.

Step 2: Configure Your Tumblr Settings
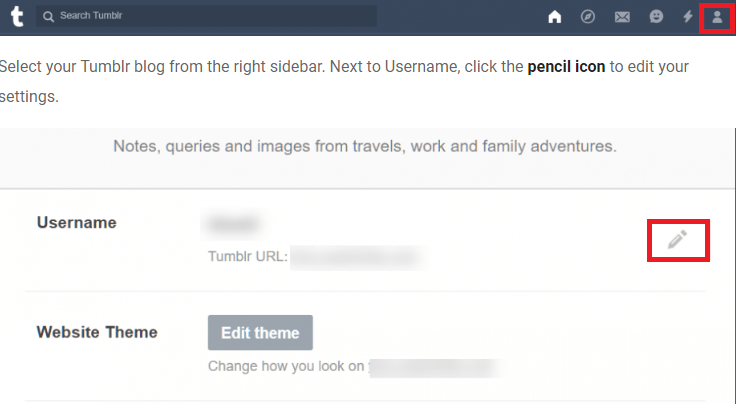
Sign into your Tumblr account. Click on the Account icon located at the top right corner of the page, then choose "Settings."

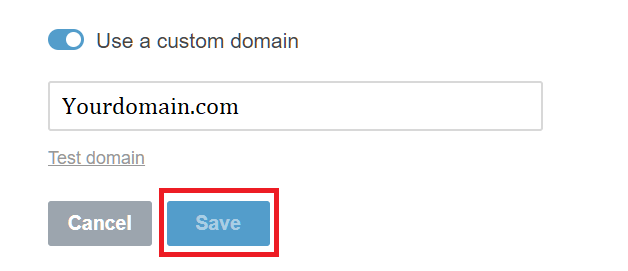
Enable the "Use a custom domain" option by turning on the switch next to it, and enter the domain or subdomain you previously configured. Then, click the "Save" button to proceed.

Step 3: Test and Verify
Once you've configured your custom domain, it may take up to 72 hours for Tumblr to verify your settings. During this period, you should regularly check to ensure everything is functioning correctly.
Updated almost 2 years ago
