Wix
This comprehensive guide provides step-by-step instructions for integrating a 3DNS domain with a Wix site, from account setup to final connection and launch.
Setup a 3DNS domain on Wix
Step 1: Go to Wix.com and login to your account
Visit Wix.com and log in to your account using your credentials. This will allow you to access your dashboard and manage your existing projects or start a new one.

Step 2: Click on your profile icon and then click on domains
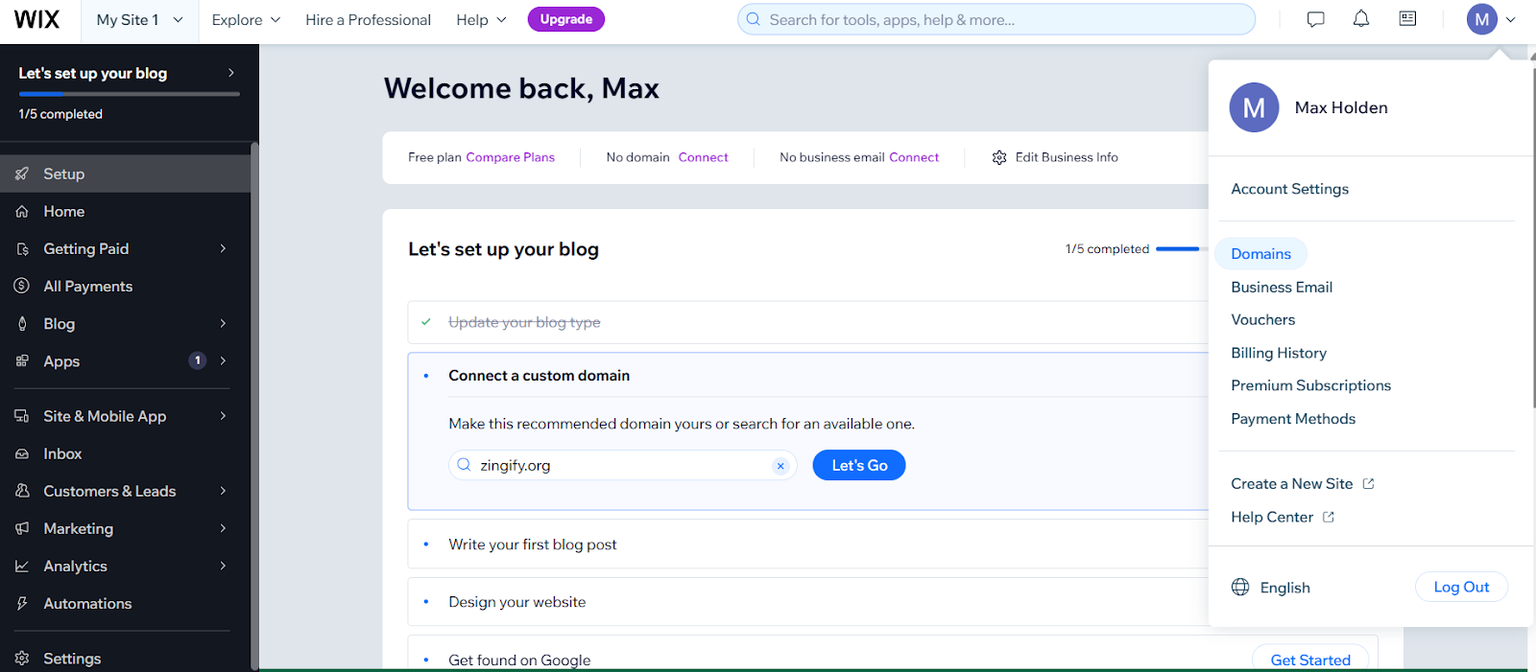
After logging in, click on your profile icon located at the top right corner of the page, and then select "Domains" from the dropdown menu. This will direct you to the domain management section where you can view and manage your associated domains.
Step 3: Then click on connect a domain you already own (if you already have a premium account then skip to step 5)
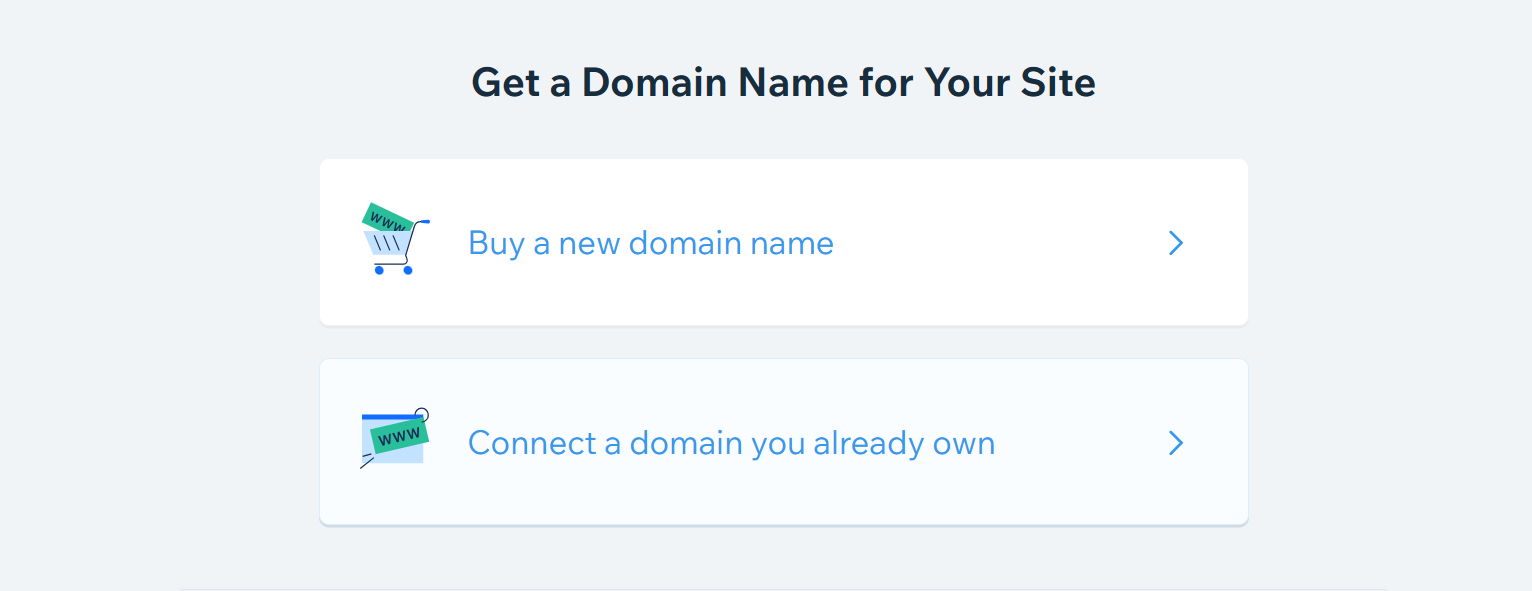
Click on "Connect a Domain You Already Own" to link your existing domain with your Wix account. If you already have a premium account with Wix, you can skip to step 5. This step is crucial for users who want to use their custom domain with their Wix site.
Step 4: purchase the plan that works best for you
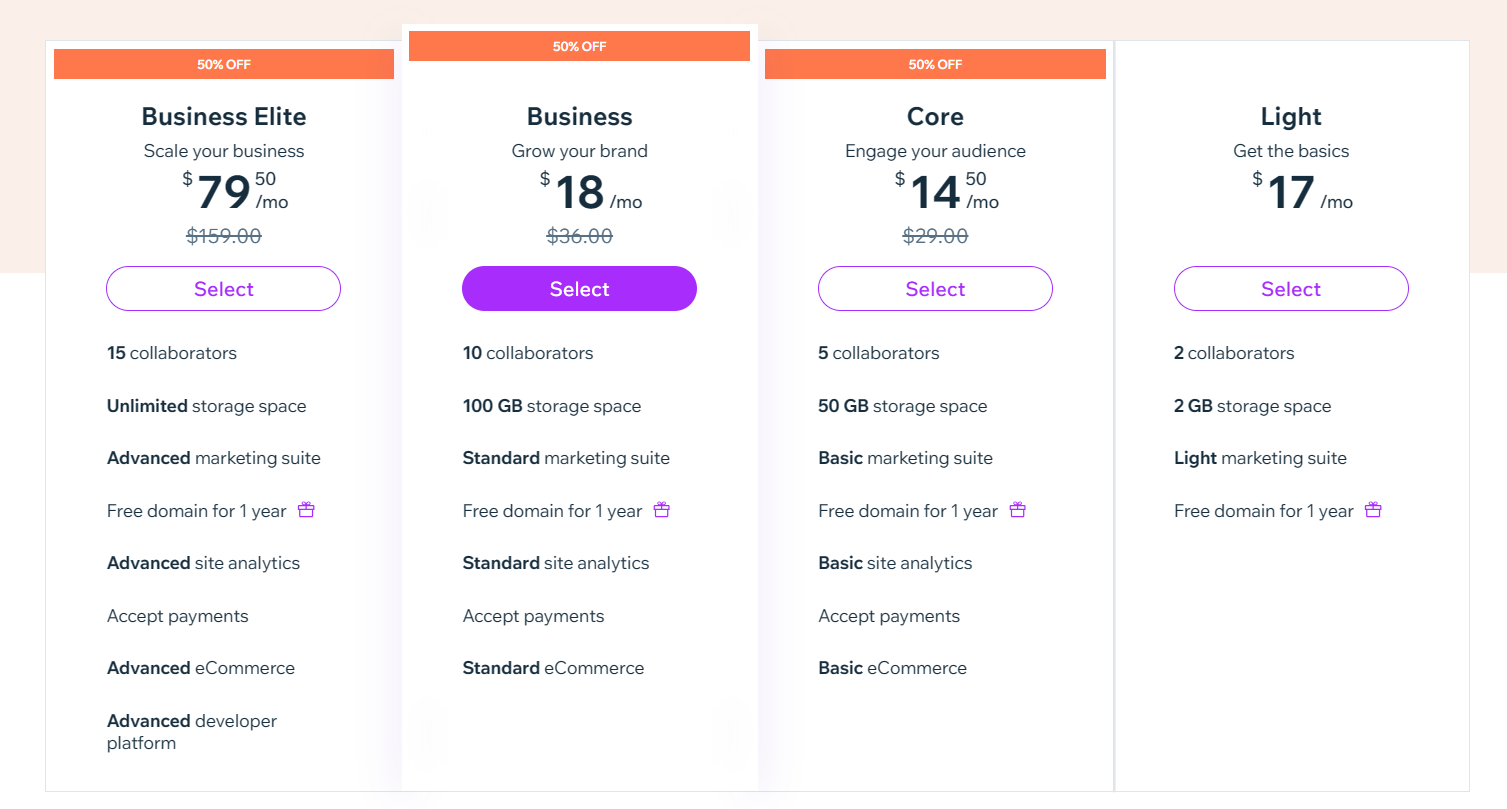
Select and purchase a plan that best fits your needs. This step is necessary to upgrade your Wix account to a premium level, which allows you to connect your own domain and access additional features that are essential for a professional online presence.
Step 5: Finish all the steps up to “Design your website” pick a template and hit publish
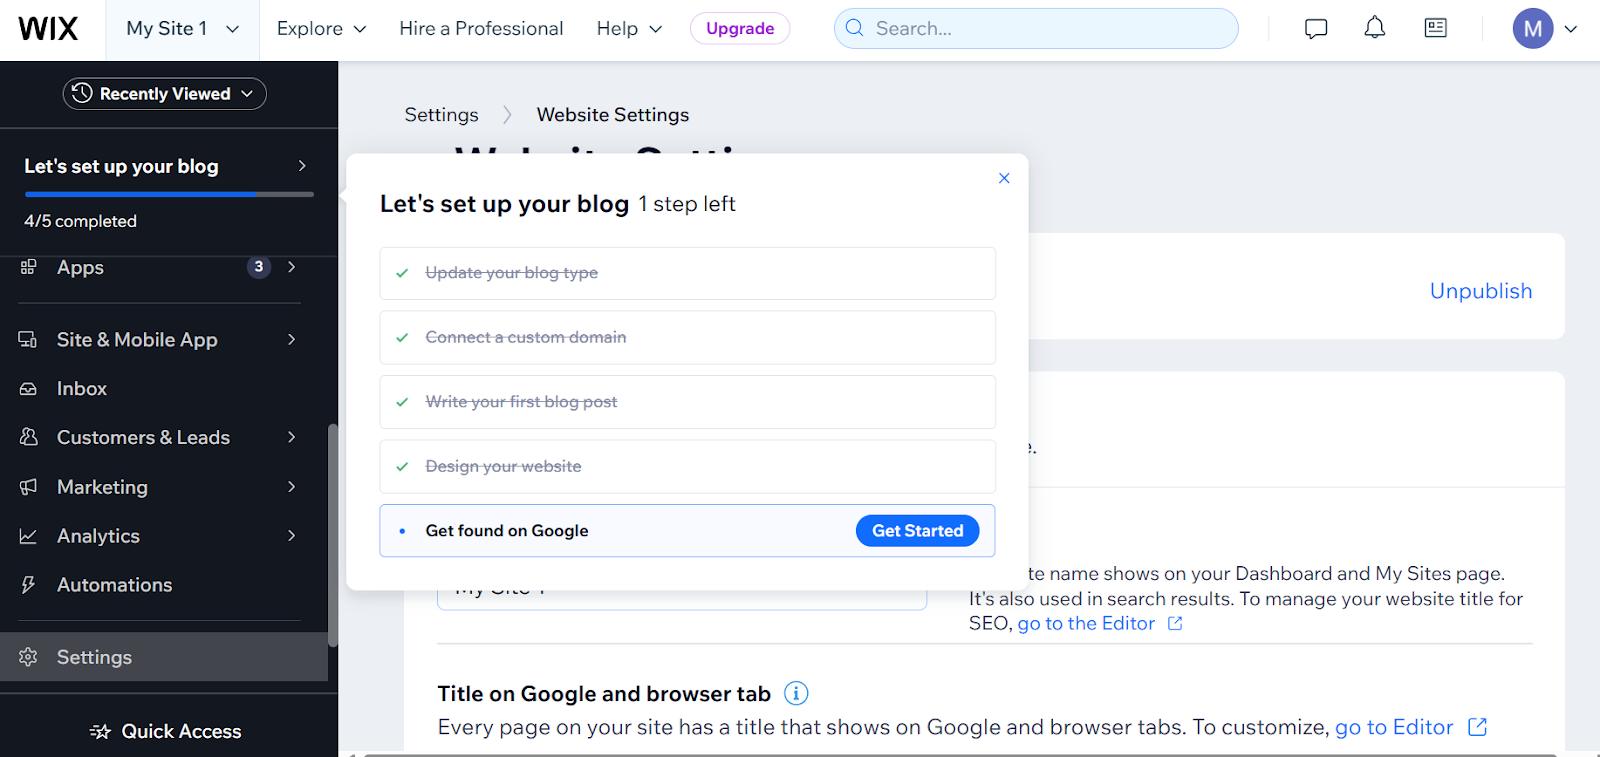
Complete the previous setup steps until you reach the "Design Your Website" section. Here, select a template that aligns with your vision for the site. Once you've customized your template and added your content, press "Publish" to make your website live on your connected domain. This finalizes the setup and launches your site to the public.
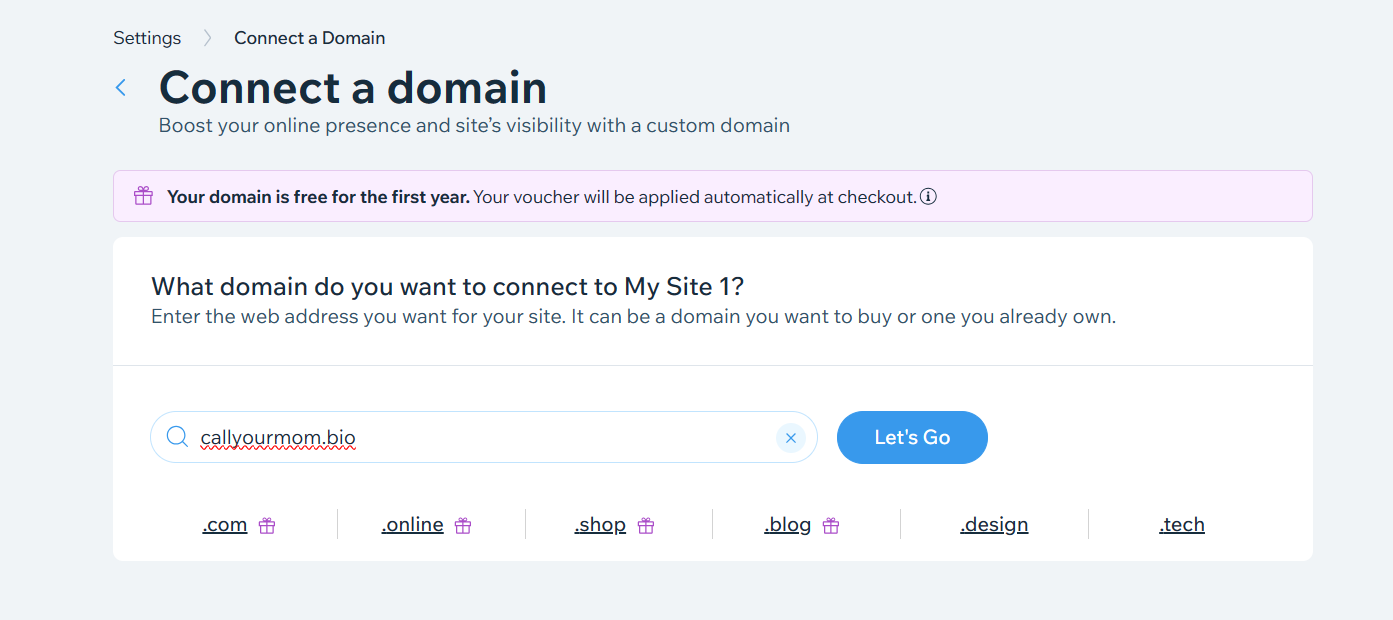
Step 6: Choose the 3DNS domain you own that you want to connect your wix page to
Choose the 3DNS domain that you own and wish to connect to your Wix site. This selection will set the stage for integrating your specific 3DNS domain with your newly created or existing Wix webpage.\
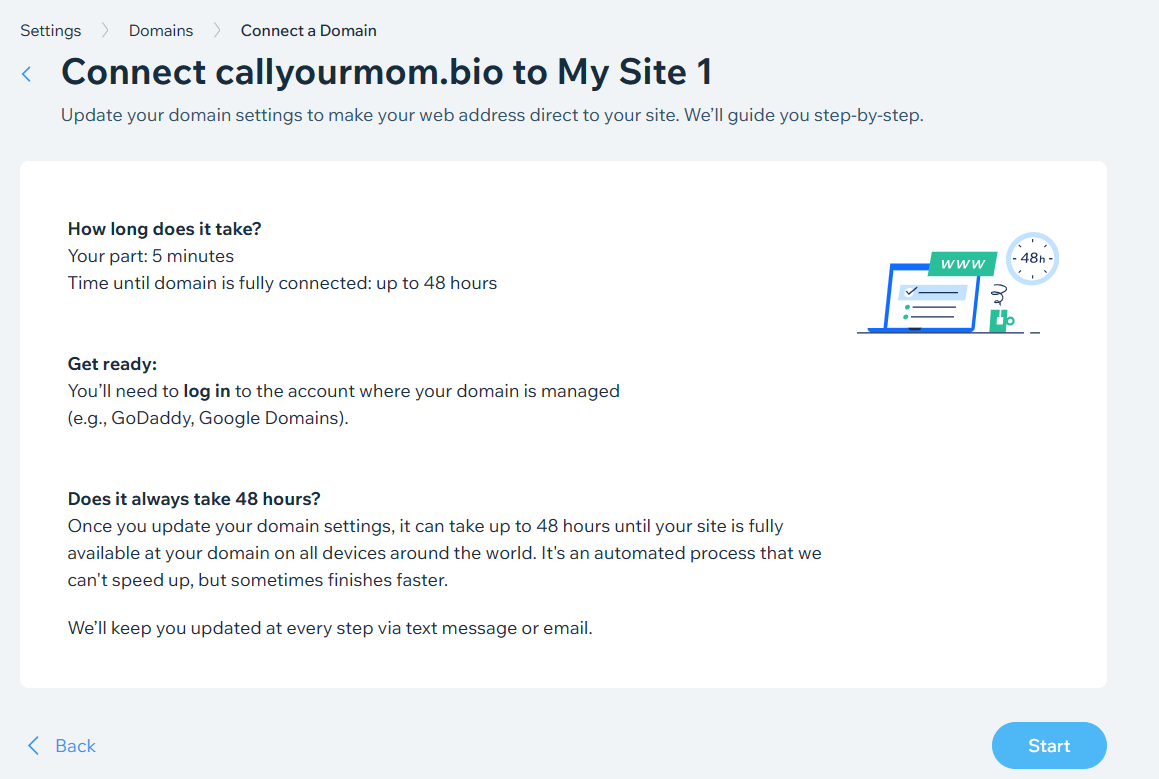
Step 7: read the pop up message and then click start
Carefully read the pop-up message that appears, which provides important information or instructions about connecting your domain. Once you have read and understood the message, click "Start" to proceed with the domain connection process. This action will initiate the final steps needed to link your 3DNS domain with your Wix site.
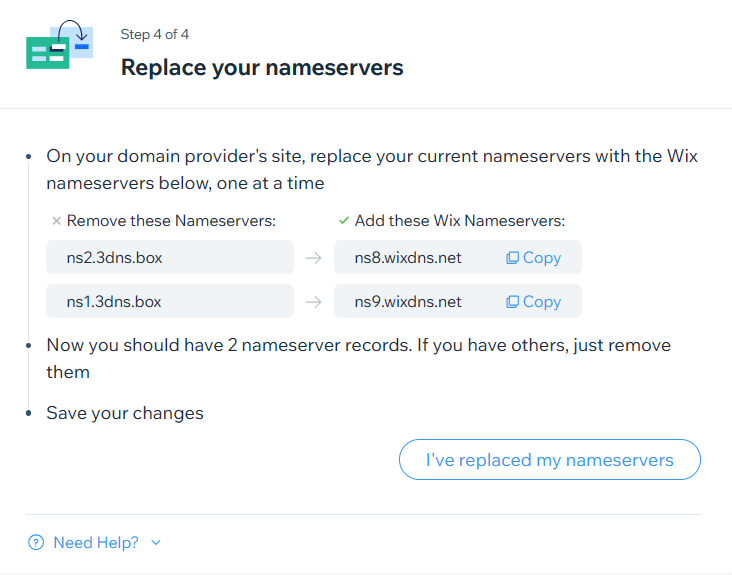
Step 8: follow the guide
important: do not change your nameservers on the 3DNS site. Just click through everything on the wix site and follow step 9 to change your DNS records
Simply follow the instructions on the Wix site to proceed, and make sure to complete these steps without making changes to your name servers. This prepares you for the final step of adjusting your DNS records as instructed in step 9.
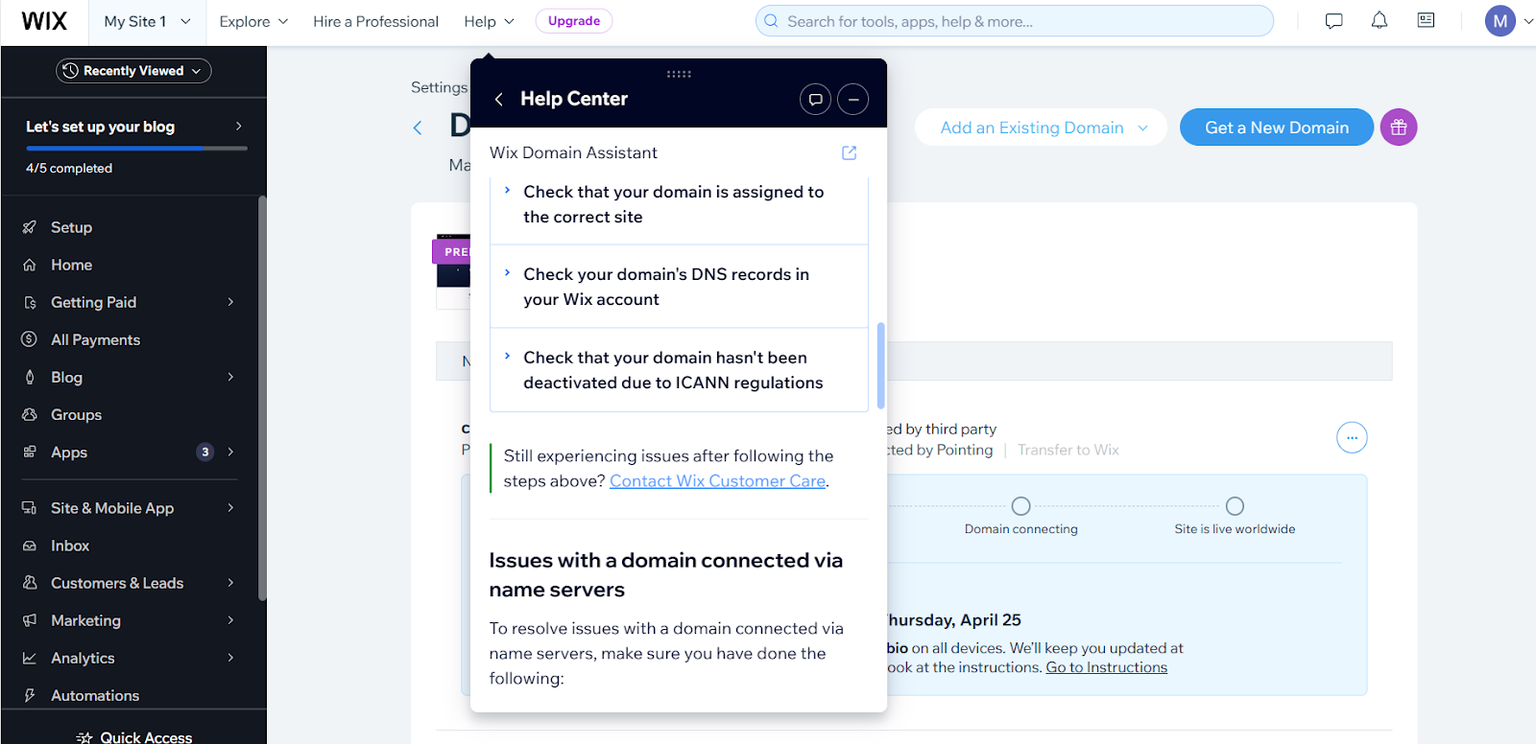
Step 9: Go to the help tab and click “wix domain assistant” + then click “contact wix customer care” (it will prompt you to click “contact wix customer care” twice)
Navigate to the "Help" tab and select "Wix Domain Assistant." Follow the prompts, which will direct you to "Contact Wix Customer Care." You will need to click on "Contact Wix Customer Care" twice during this process. This action helps you to reach out for personalized support if you need further assistance with configuring your DNS settings.
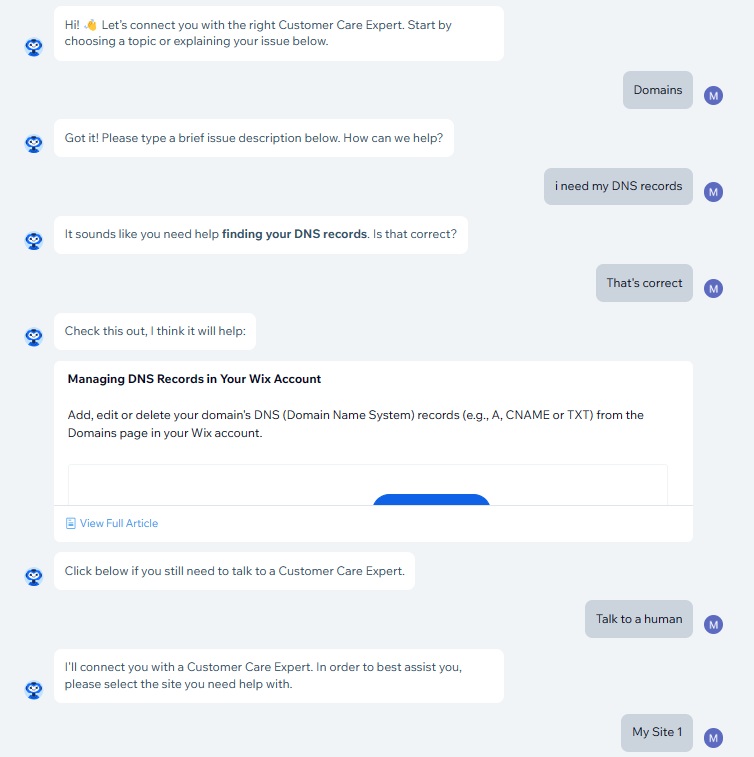
Step 10: Tell their bot that you need your DNS records and to talk to a human (the call will take 5 minutes and they will give you your “CNAME” & “A” records)
Inform the Wix support bot that you need to obtain your DNS records and request to speak with a human representative. The expected call duration is about 5 minutes, during which a support team member will provide you with your necessary "CNAME" and "A" records to properly configure your domain.
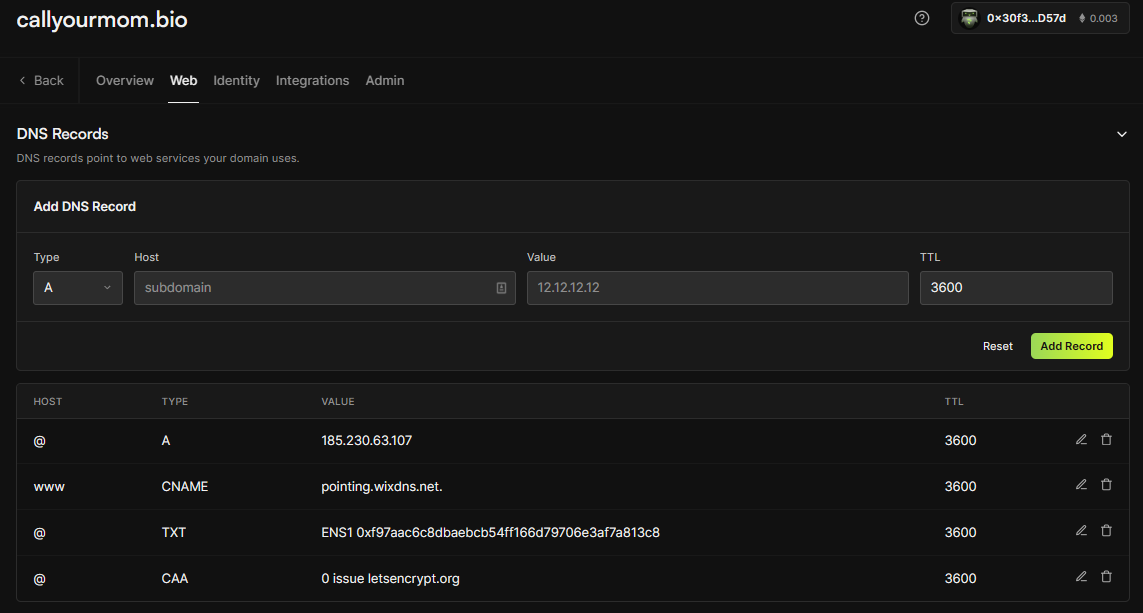
Step 11: Update your 3DNS records
Update your 3DNS records with the "CNAME" and "A" records provided by the Wix customer care team. This step is crucial for ensuring that your 3DNS domain correctly points to your Wix site, enabling it to resolve properly and be accessible online. Make sure to enter the details accurately in your 3DNS management settings.
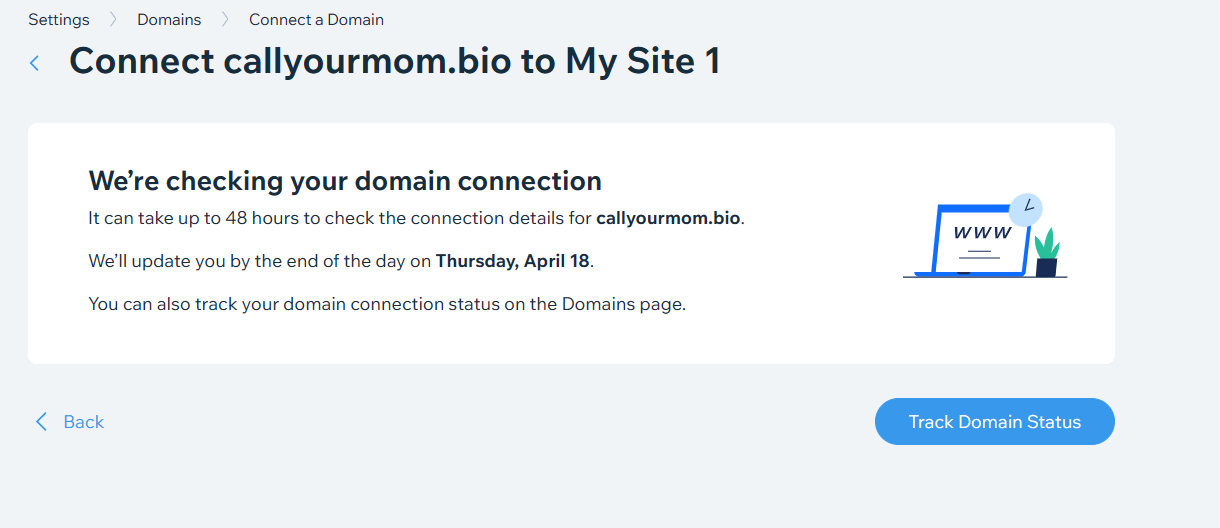
Step 12: Wait for your Domain to be fully connected
After updating your DNS records, allow some time for your domain to be fully connected. This process can take up to 48 hours as DNS changes propagate throughout the internet. Monitor the status in your Wix account, and once the domain is fully connected, your site will be live and accessible via your 3DNS domain.
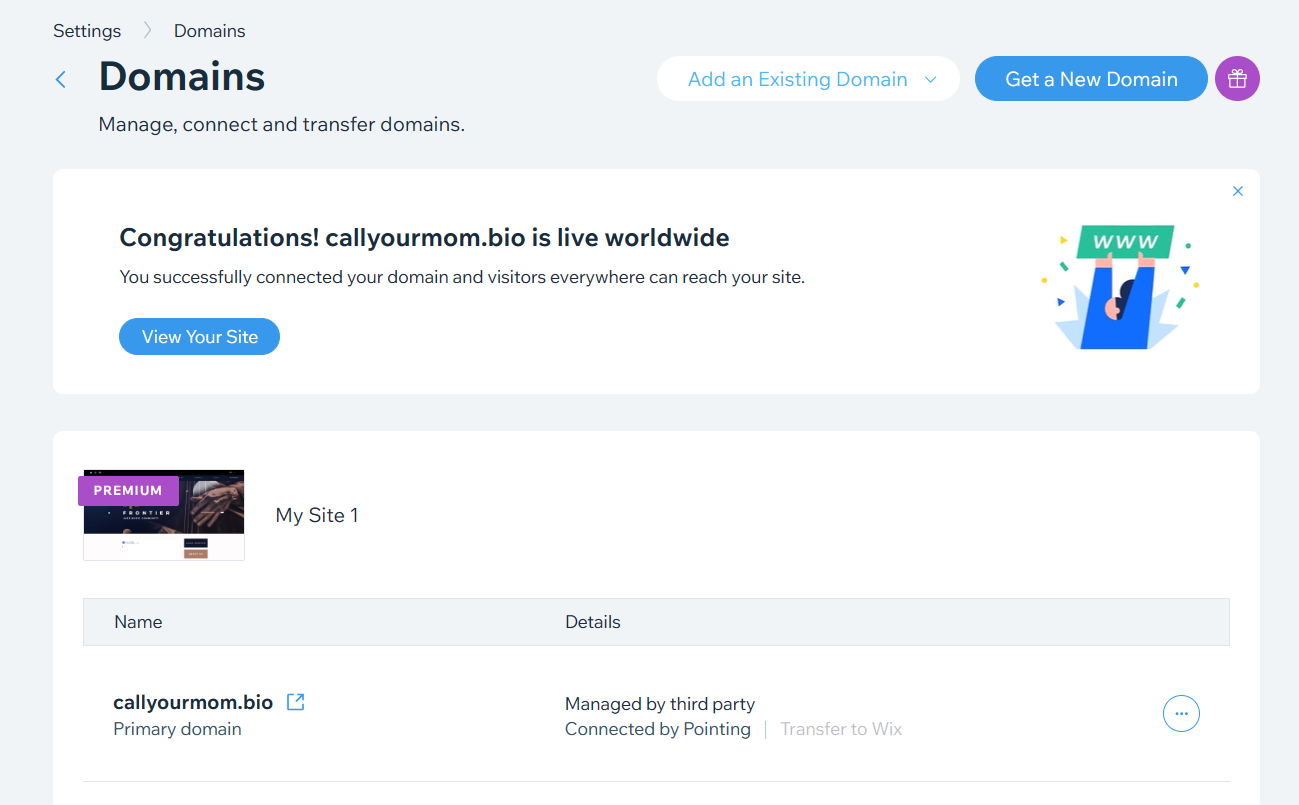
Step 13: Congratulations! You can now get the full benefits of your wix page on your 3DNS domain!
Your Wix page is now fully integrated with your 3DNS domain. You can enjoy the full benefits of your Wix site, now accessible through your customized 3DNS domain, leveraging both platforms' features to maximize your online presence.
Updated almost 2 years ago
