Shopify
Follow this step-by-step guide to seamlessly integrate your 3DNS domain with your Shopify e-commerce platform for an optimized online store management experience.
Setup a 3DNS Domain on Shopify
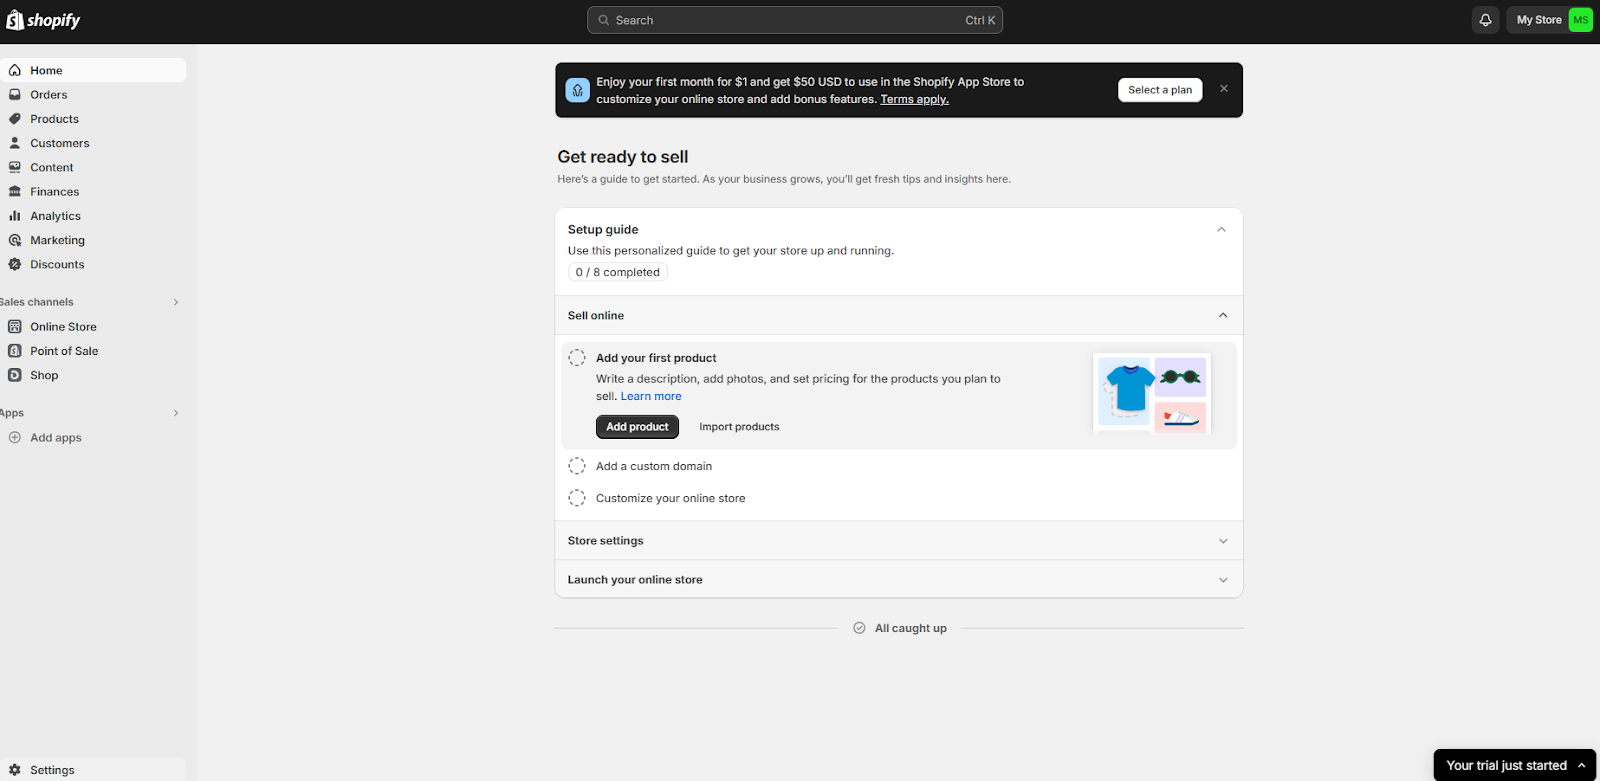
Step 1: Go to the shopify page and login to your account
This will allow you to access your dashboard and manage your online store.

Step 2: Go to the bottom left corner of the home page and click settings
This will direct you to a section where you can manage various settings for your online store.

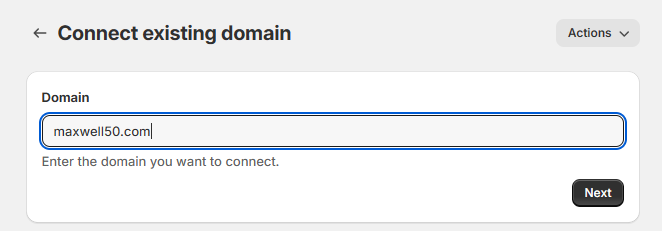
Step 3: Click on “domains” and then choose “connect existing domain”
This step is essential for integrating your custom domain with your Shopify e-commerce platform.

Step 4: Type in the 3DNS domain that you own, click next, and then click verify connection
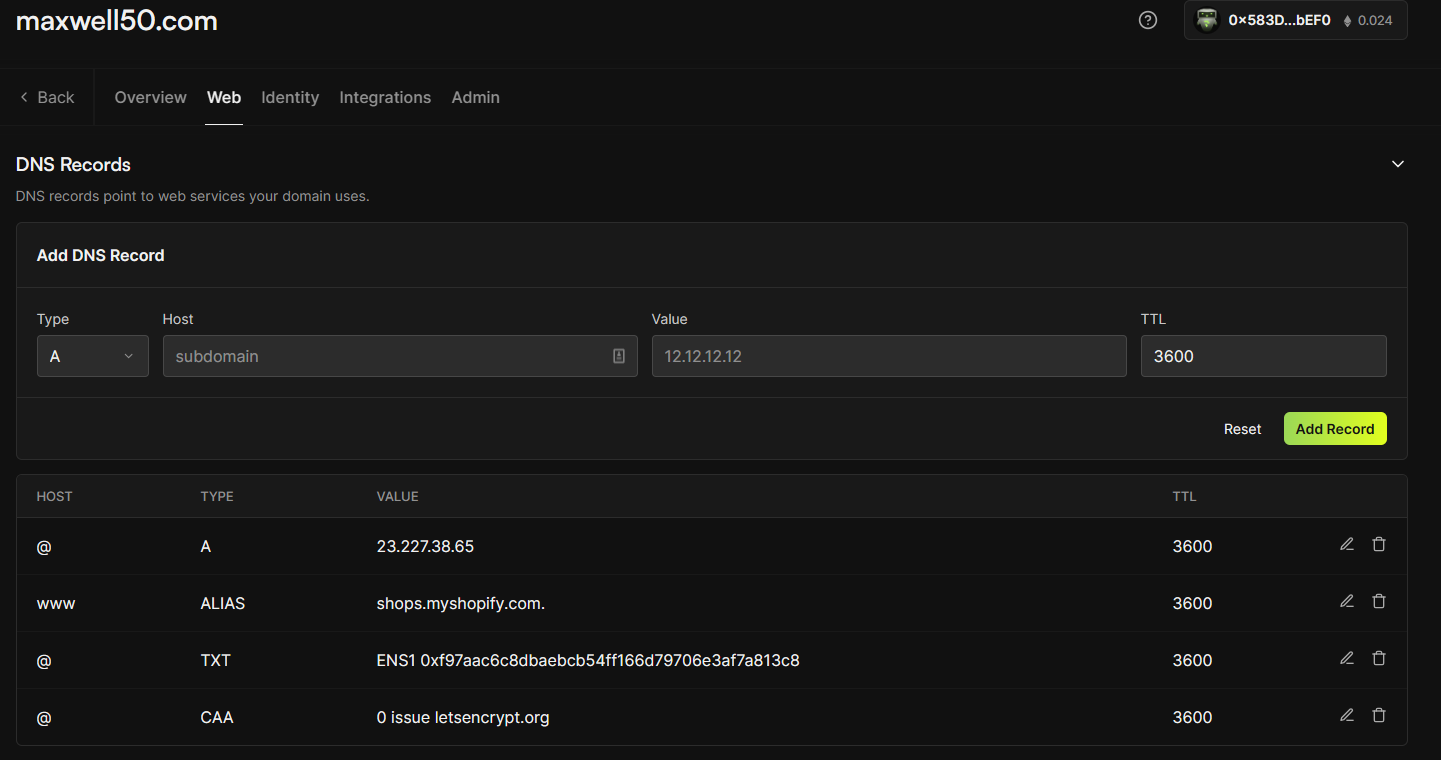
Shopify will then provide the necessary DNS settings, including your A record and CNAME, which you will need to configure your domain properly.

Step 5: Enter your shopify DNS records to 3DNS and then click verify connection again
Update your 3DNS domain settings by entering the Shopify-provided DNS records, including the A record and CNAME. Once updated, return to your Shopify domain settings and click on "Verify Connection" again to ensure that your domain is properly connected to your Shopify store.

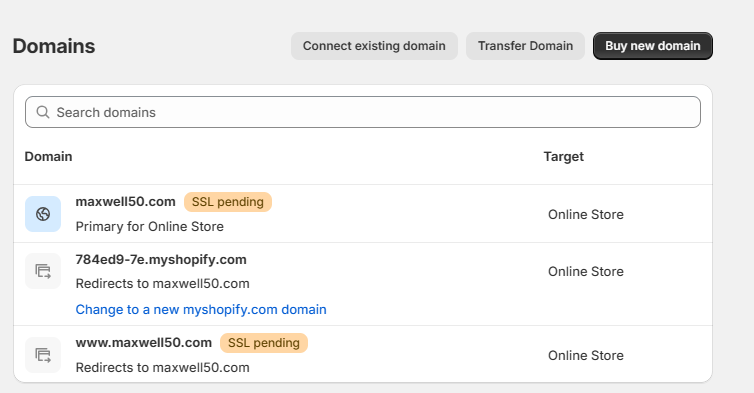
Step 6: Congratulations your Shopify store is now fully integrated with your 3DNS domain
Although the status may still show as "pending," your domain should already direct visitors to your Shopify site. This marks the successful connection of your domain to your online store.

/
Updated almost 2 years ago
