Flux
This guide provides comprehensive instructions on integrating a 3DNS domain with Flux's decentralized computational network, providing improved security, performance, and autonomy.
Setup a 3DNS domain on Flux
Intro: What is Flux and why would you want to use it with 3DNS?
Integrating Flux with your domain will bring enhanced security, scalability, and decentralization. This synergy significantly improves performance, reliability, and autonomy, promoting a more resilient internet infrastructure. By leveraging Flux’s decentralized computational network alongside with our 3DNS’s capabilities, you will gain access to a robust platform for hosting applications, ensuring data integrity and reducing reliance on centralized cloud services. This integration supports the broader vision of a decentralized web, where you will have greater control and flexibility over your digital presence.
Step 1: Choose a 3DNS domain that you want and click on Flux (if you already have a Zel ID, then go directly to step 6)
Start by selecting a 3DNS domain of your choice and opt for the Flux option. If you're already a Zel ID holder, you can skip ahead to a later step in the process. This initial choice sets the foundation for integrating your domain with Flux's decentralized network, opening up enhanced security and performance features for your digital presence.

Step 2: Download Zel ID
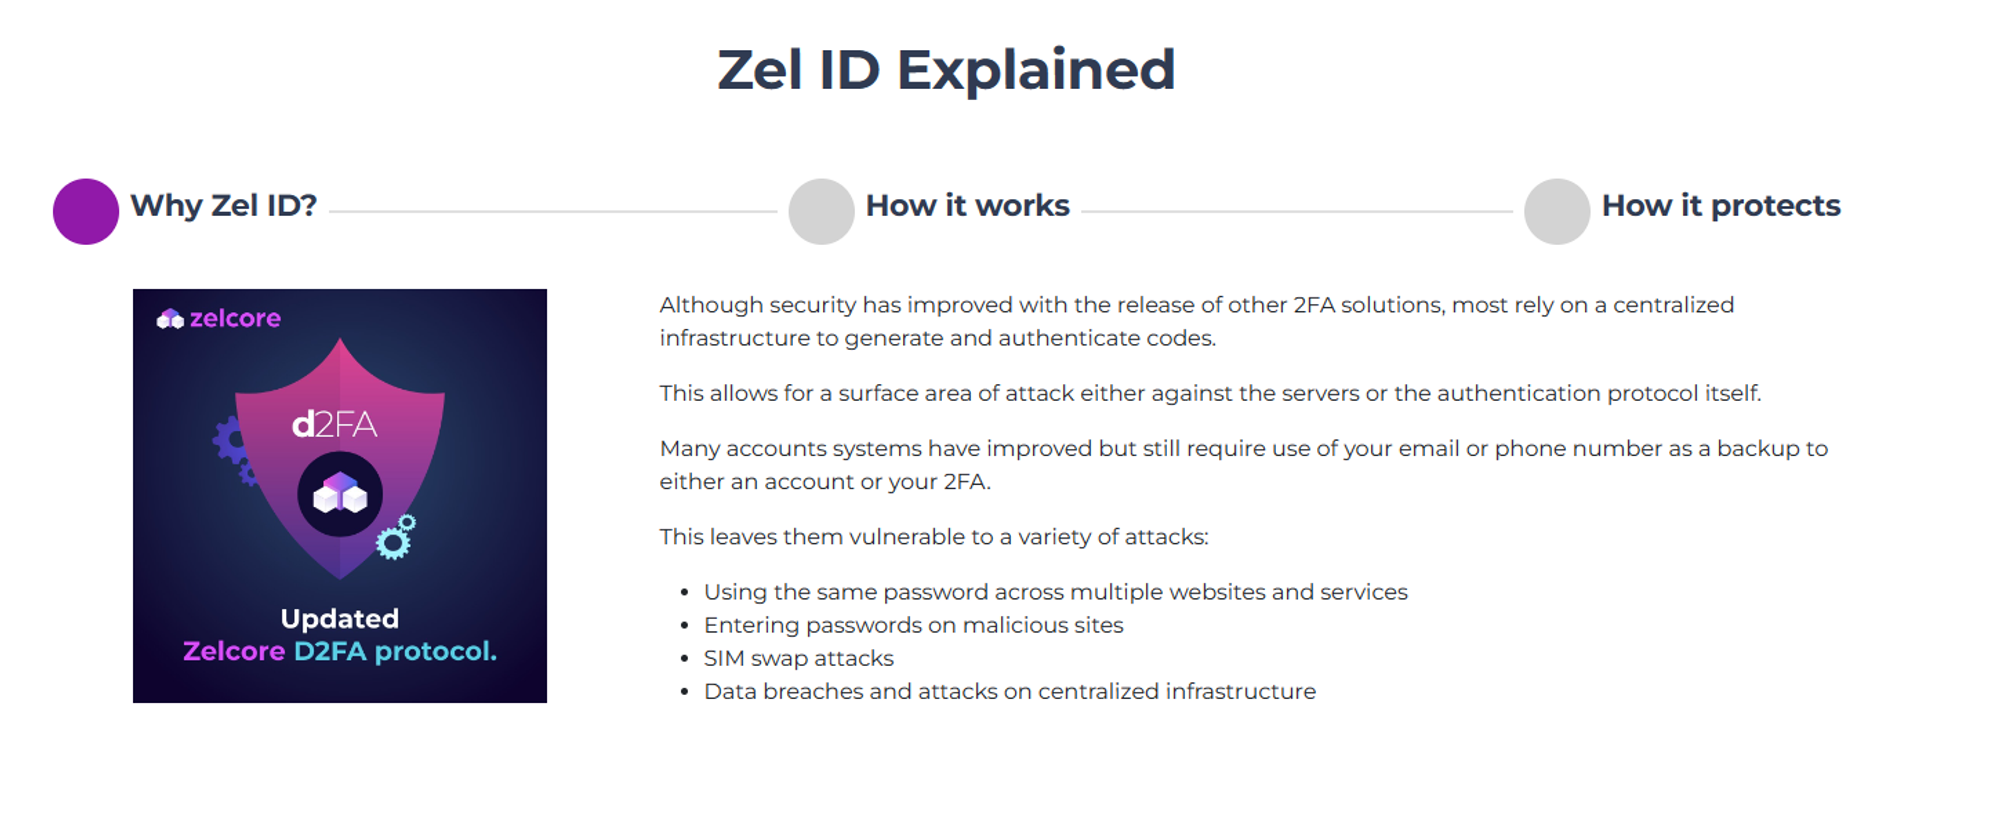
Proceed to download the Zel ID app, which is necessary for managing your digital identity within the Flux ecosystem. This step is crucial for accessing Flux’s features and services.
Step 3: Choose to Download on mobile or desktop
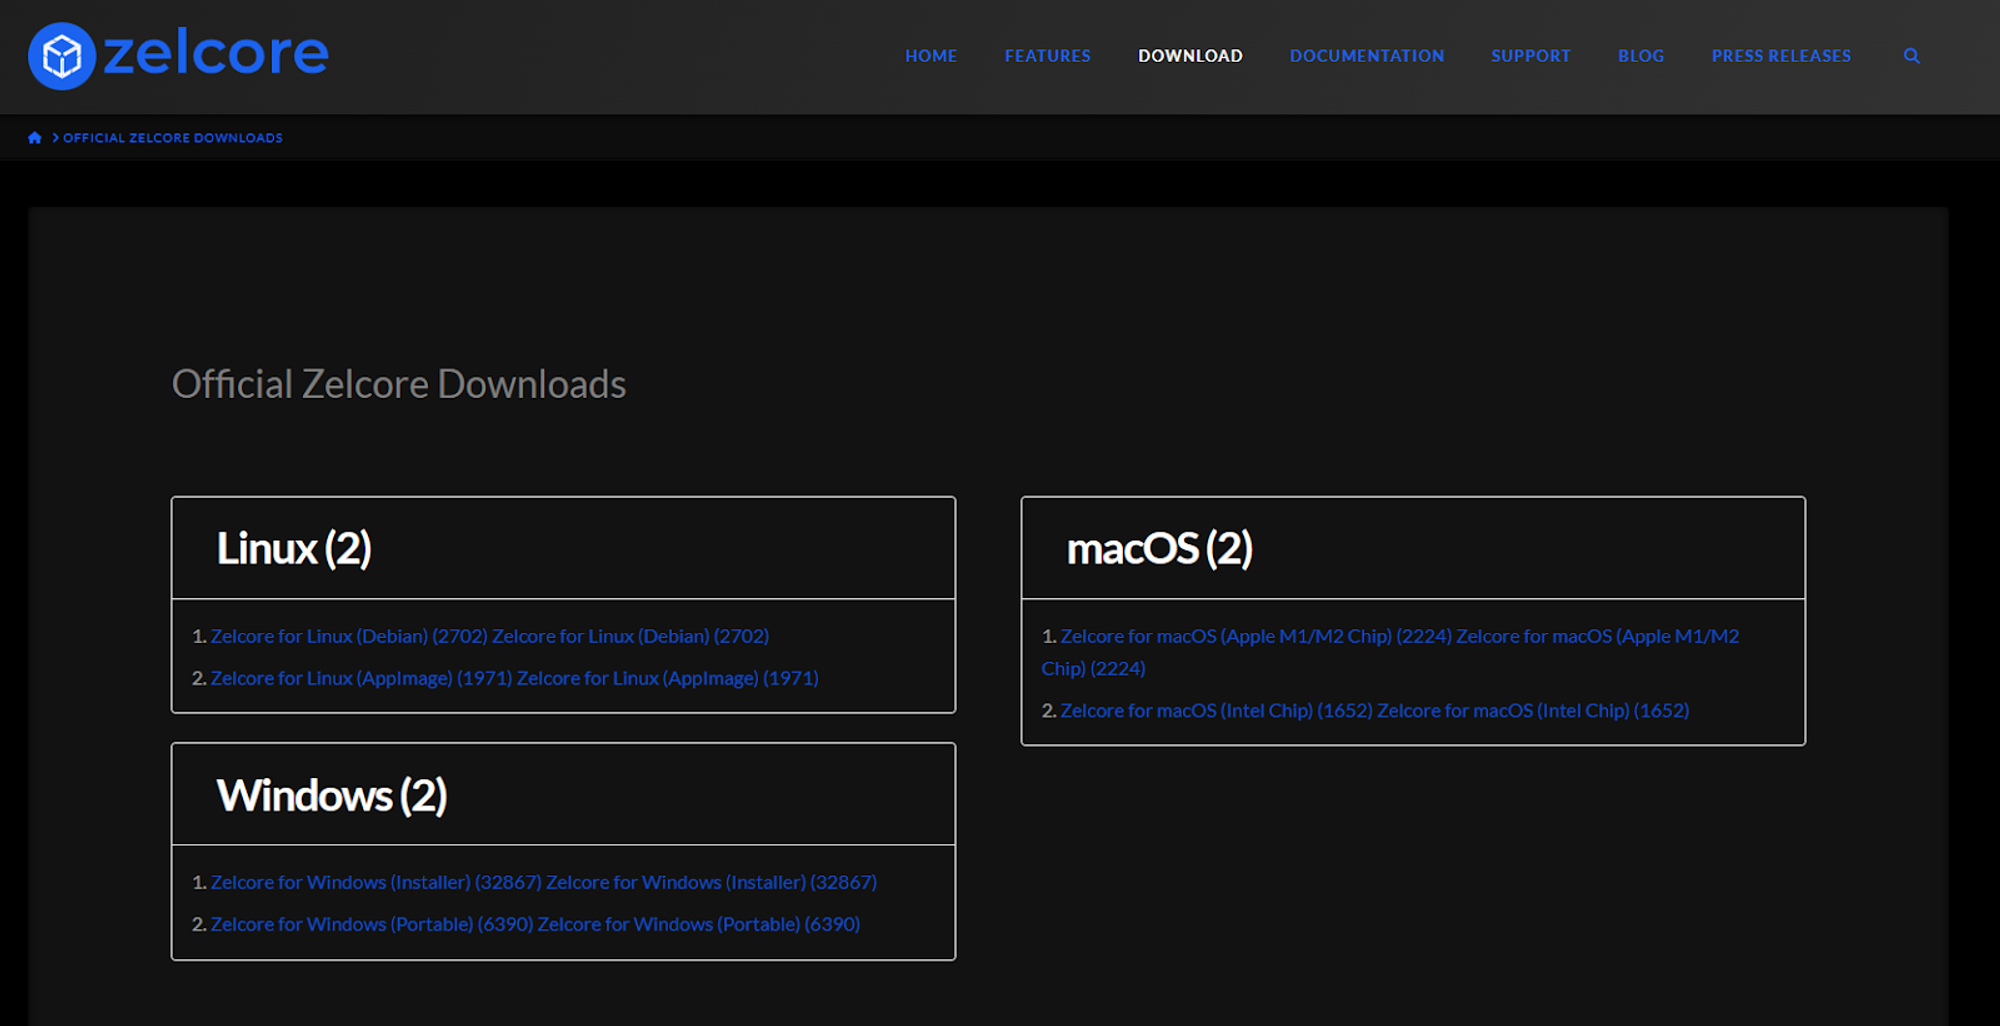
At this step, decide whether to download Zel ID for use on your mobile device or desktop, based on your preference and convenience. This choice allows for flexible access to the Flux ecosystem across different platforms. (Here we chose desktop)
Step 4: Sync/Register/Login to your account (You will need to make a username and password)
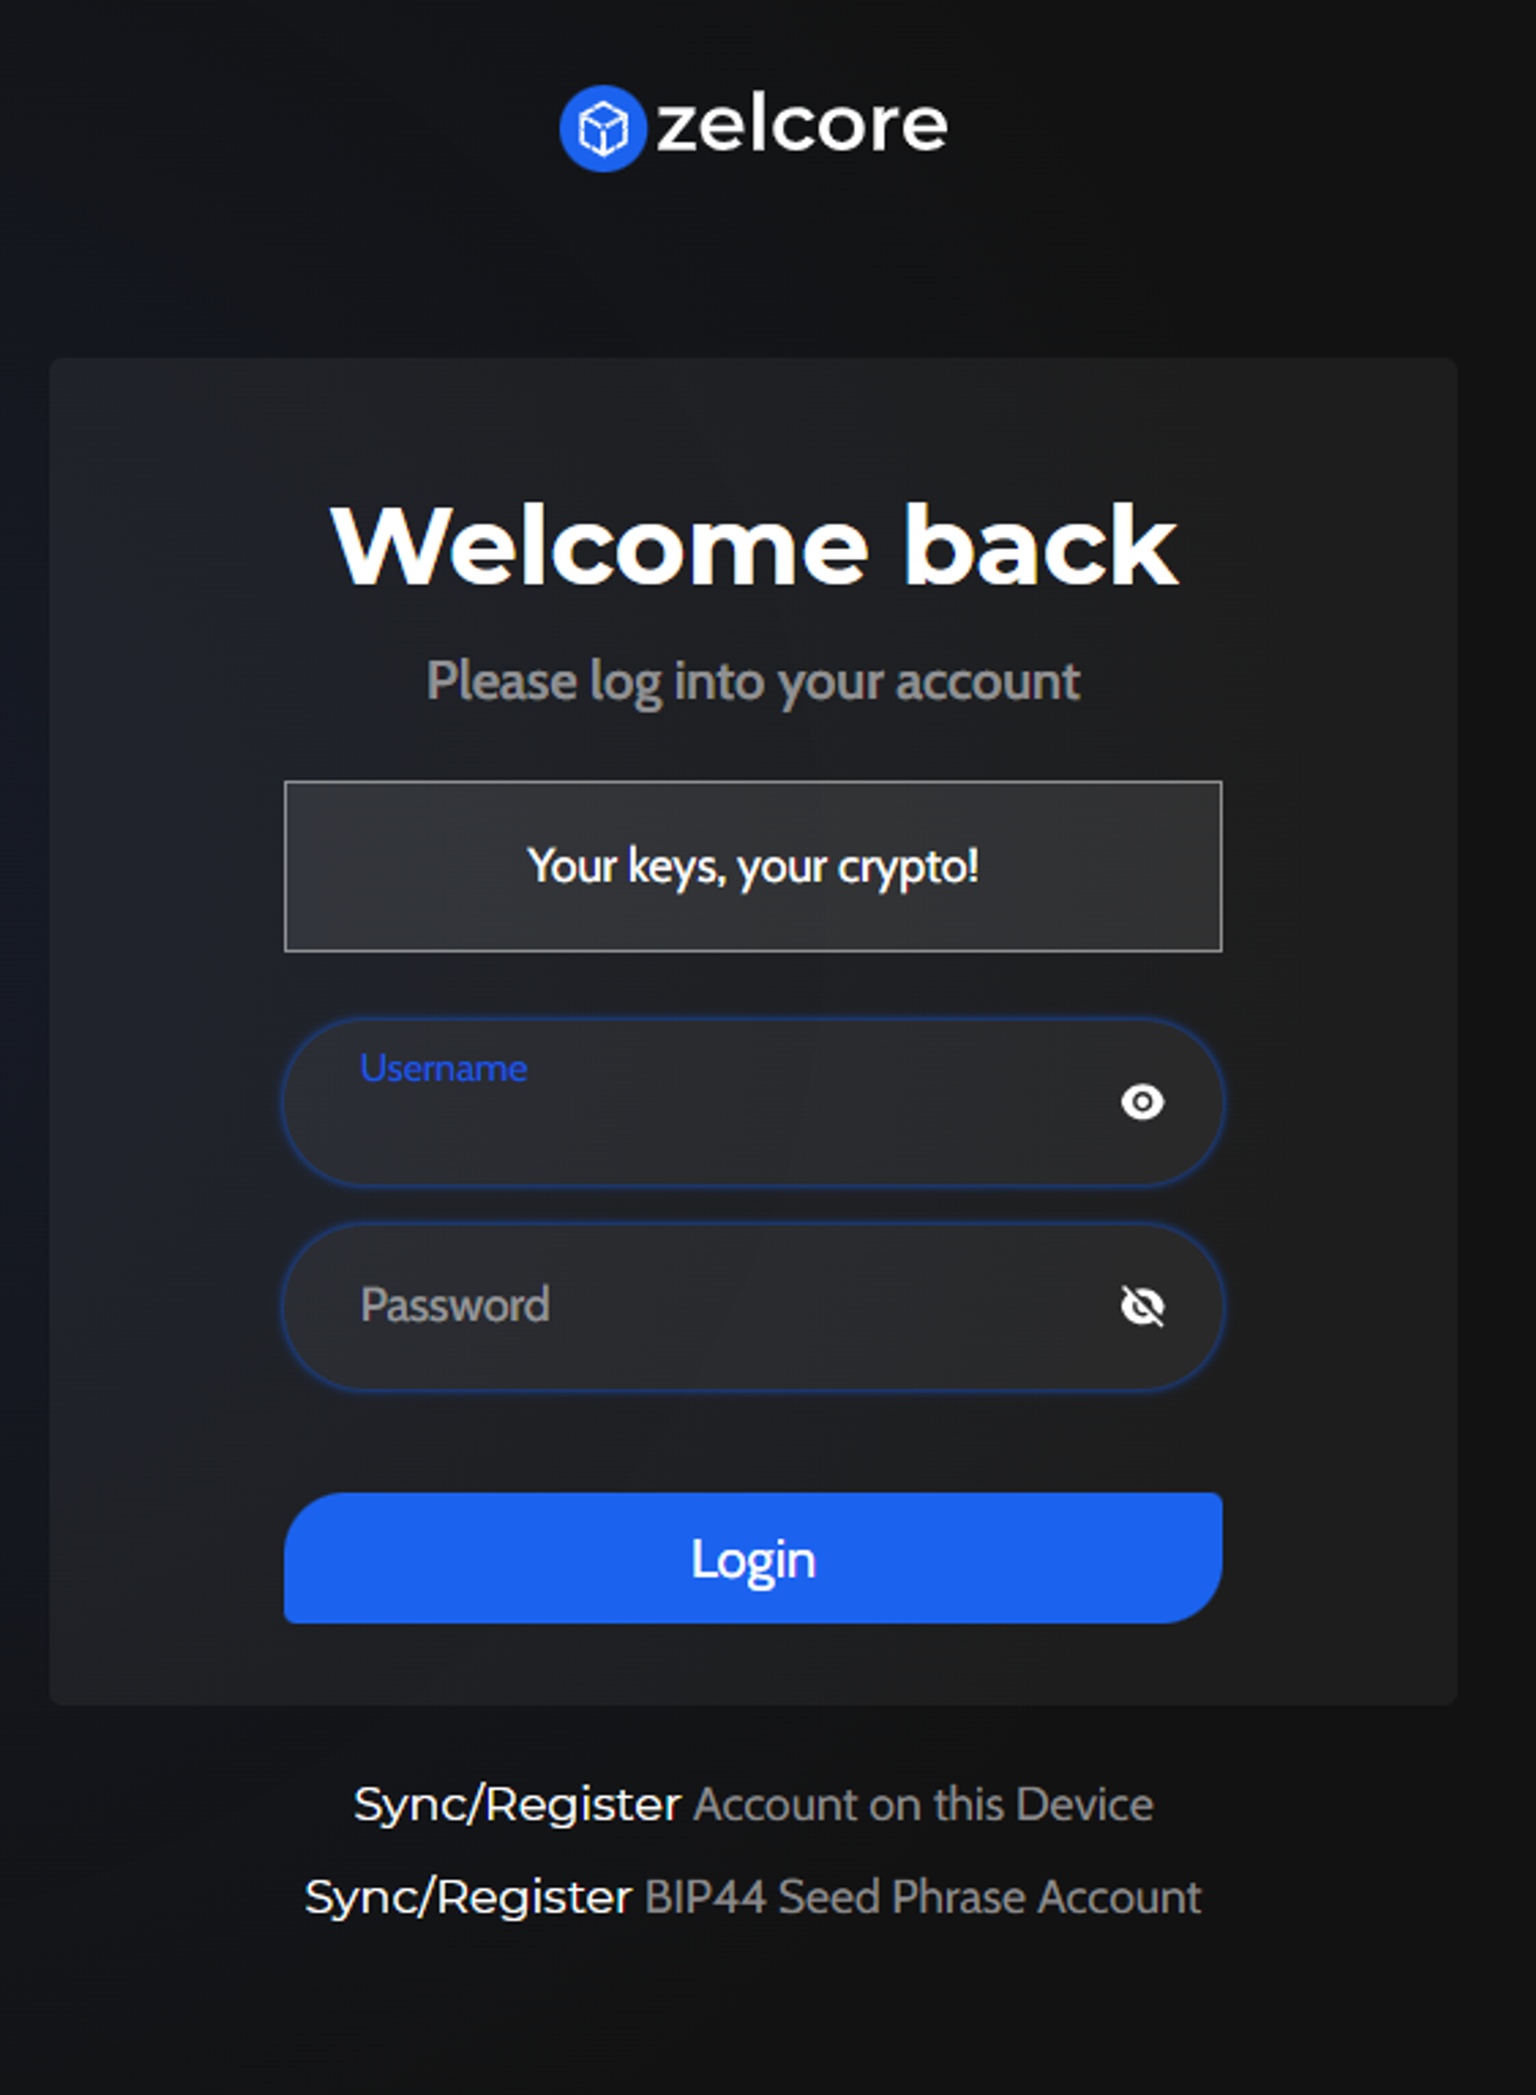
Now, sync, register, or log in to your Zel ID account. This process includes creating a unique username and password, essential for securing your access and managing your digital identity within the Flux ecosystem.
Step 5: Read information (why it is important for users)
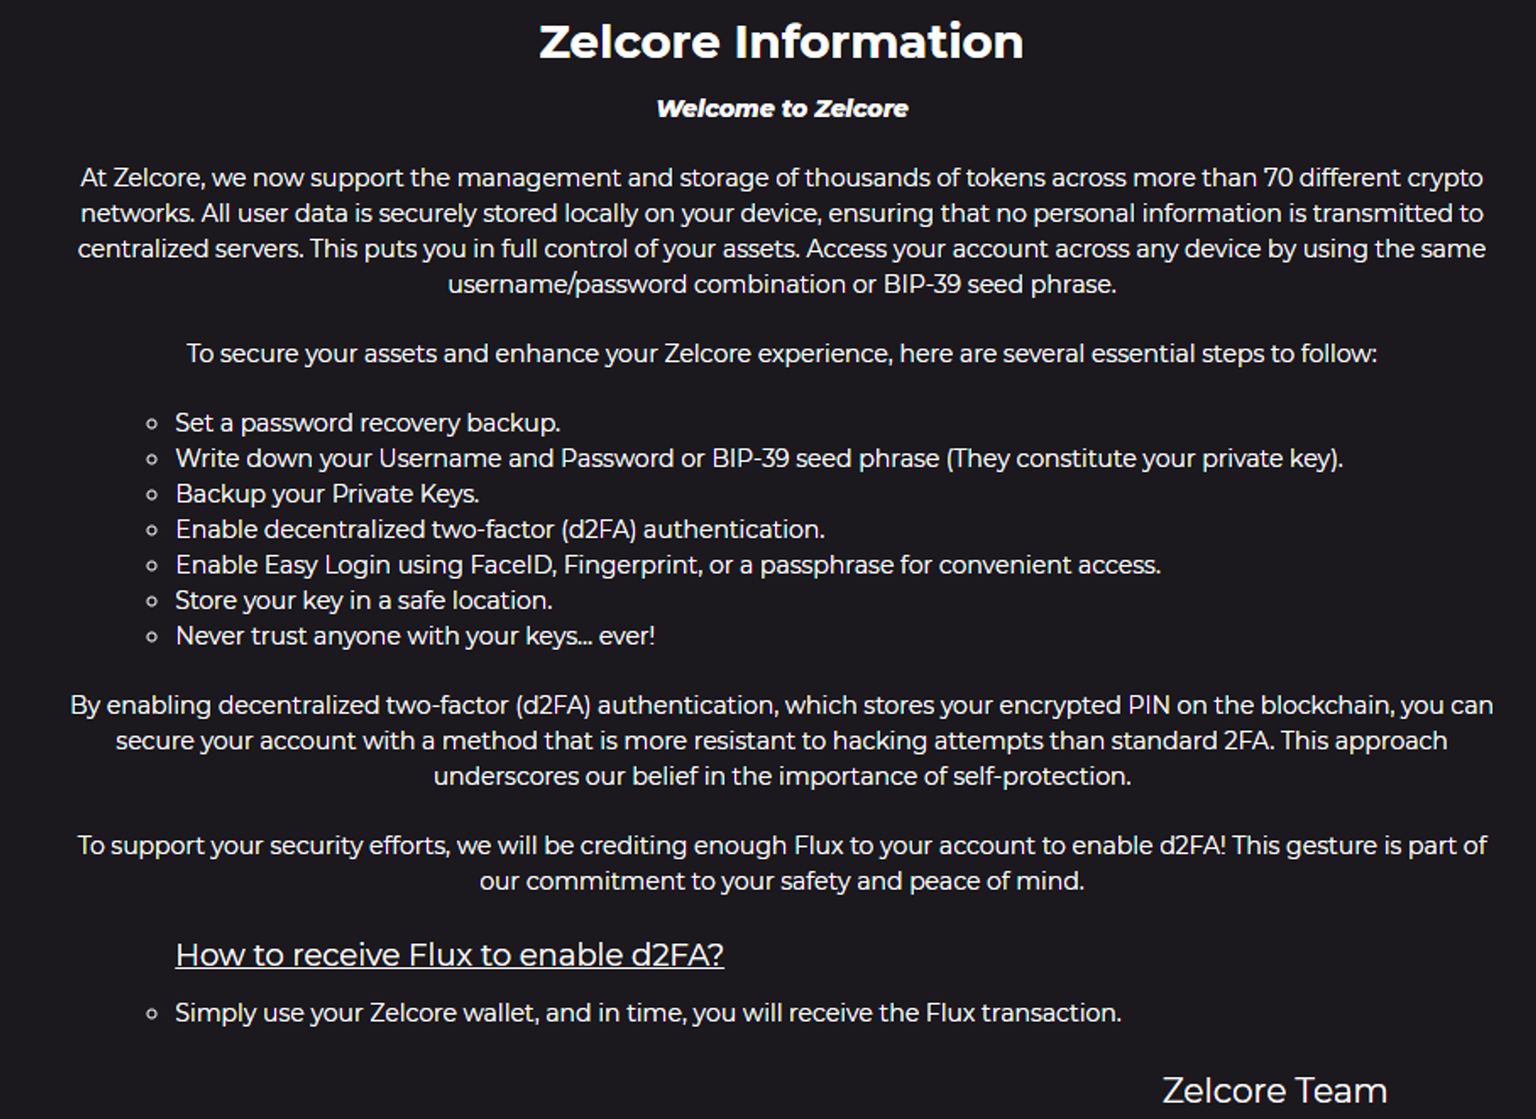
Take a moment to read through the provided information to understand why creating and using a Zel ID in the Flux ecosystem is beneficial. This step is crucial for grasping the importance of securing your digital identity and leveraging the decentralized features offered by Flux.
Step 6: Go to home page (runonflux.io) and click Deploy Now

Navigate to the Flux homepage at runonflux.io and click on the "Deploy Now" button.
Upon arriving at the homepage, you might find yourself on "cloud.runonflux.io." If so, move forward to the next step so that you can set up your wordpress.
Step 7: Click word press (cloud.runonflux.io)
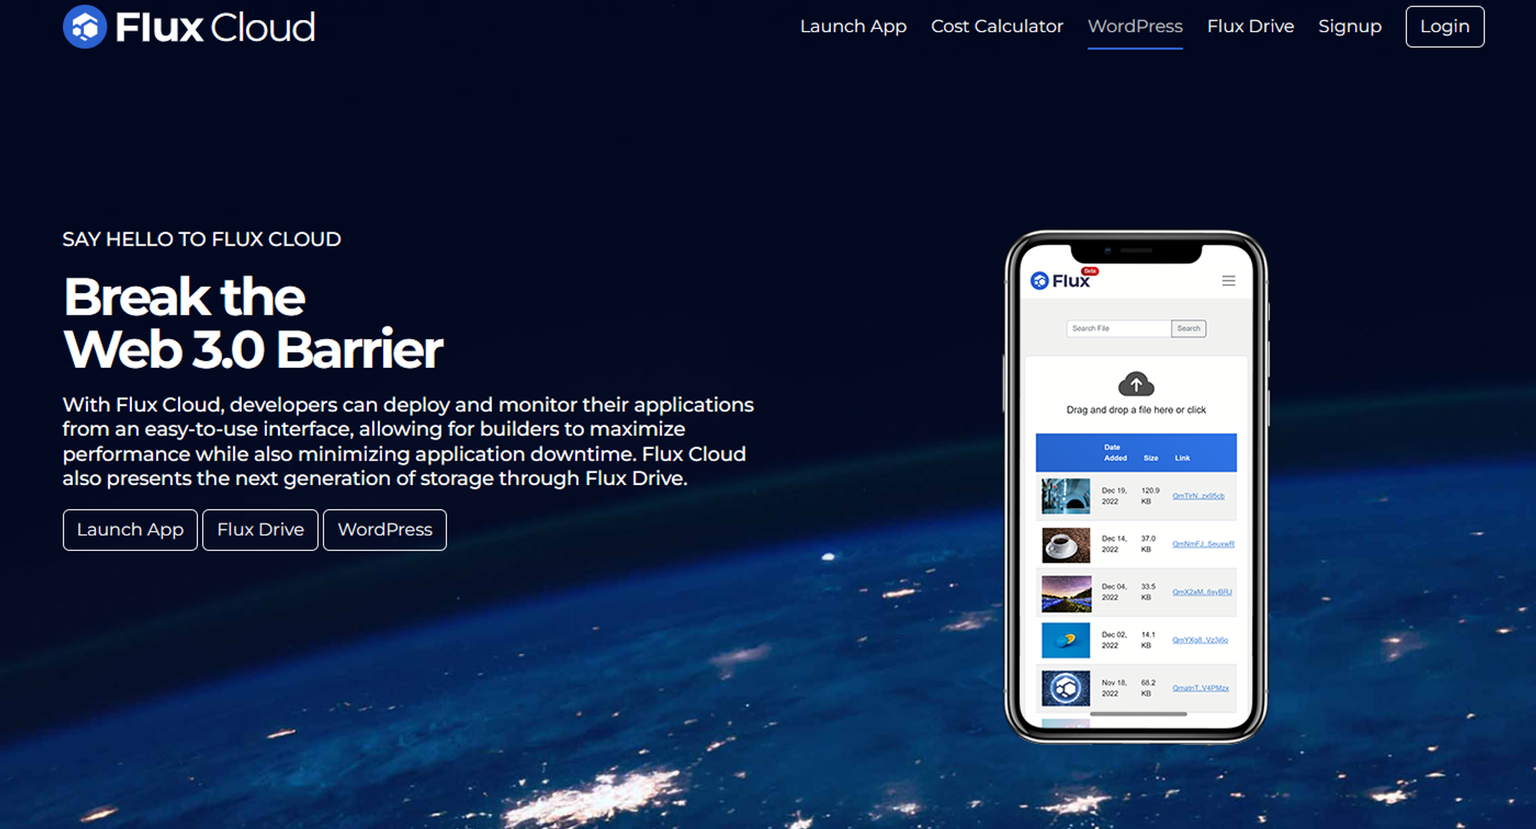
Next, on cloud.runonflux.io, select the WordPress option. This choice is geared towards deploying a WordPress site, utilizing the cloud capabilities of Flux for your 3DNS domain.
Step 8: Either Buy a domain using our site or add a 3DNS domain you already own and click on terms of service / add email pick the performance plan and deployment location of your choosing
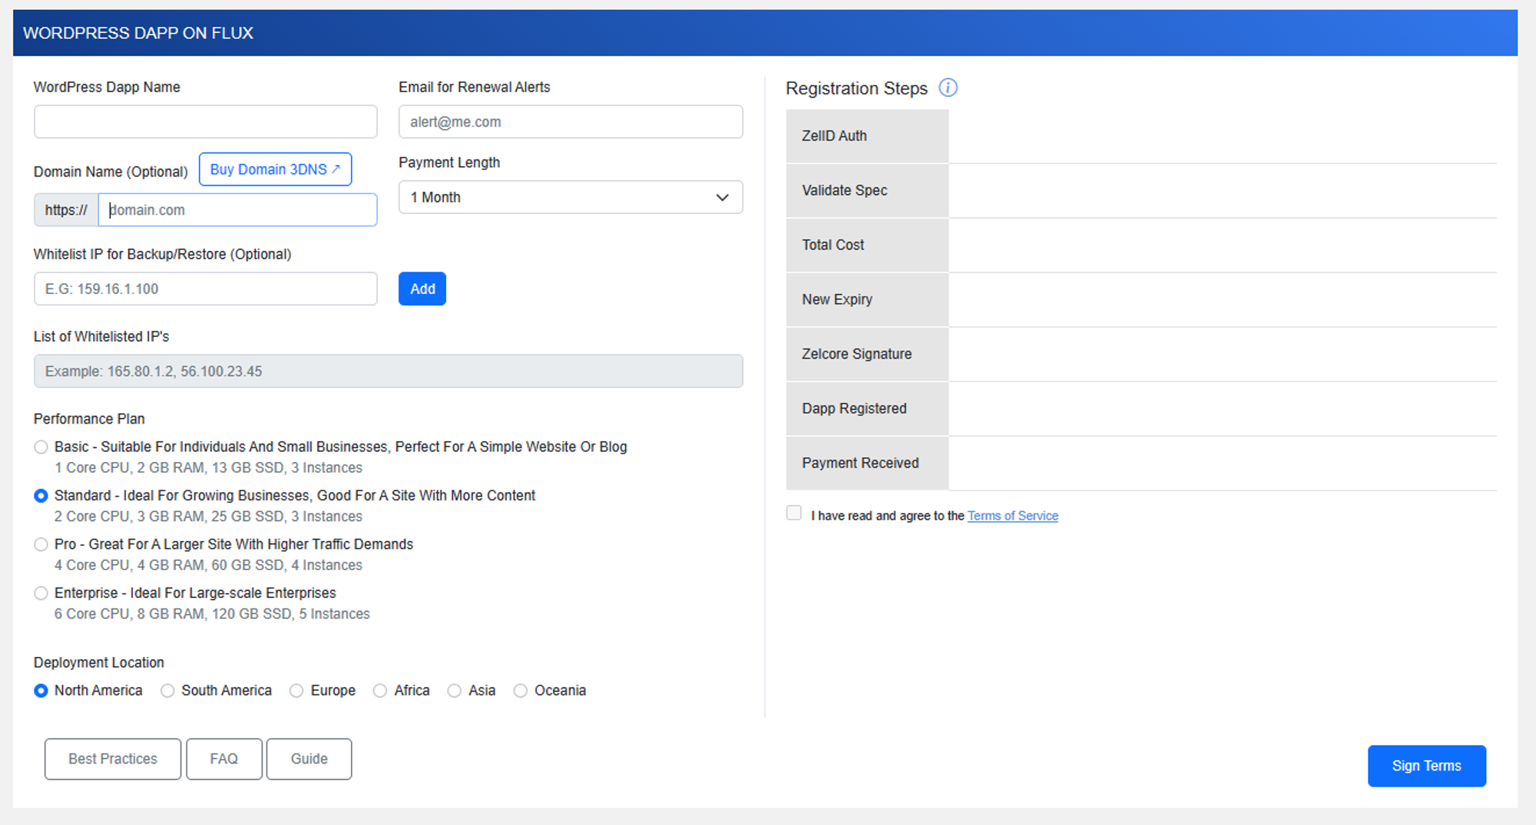
You have the option to either purchase a domain directly through our site or utilize an existing 3DNS domain you own. After selecting your domain, agree to the terms of service, add your email, choose a performance plan, and select a deployment location that suits your needs. This step is crucial for tailoring the setup to your specific requirements, ensuring optimal performance and compliance.
Step 9: Ensure you have zelcore+ active; it is either $5 a month or $48 a year
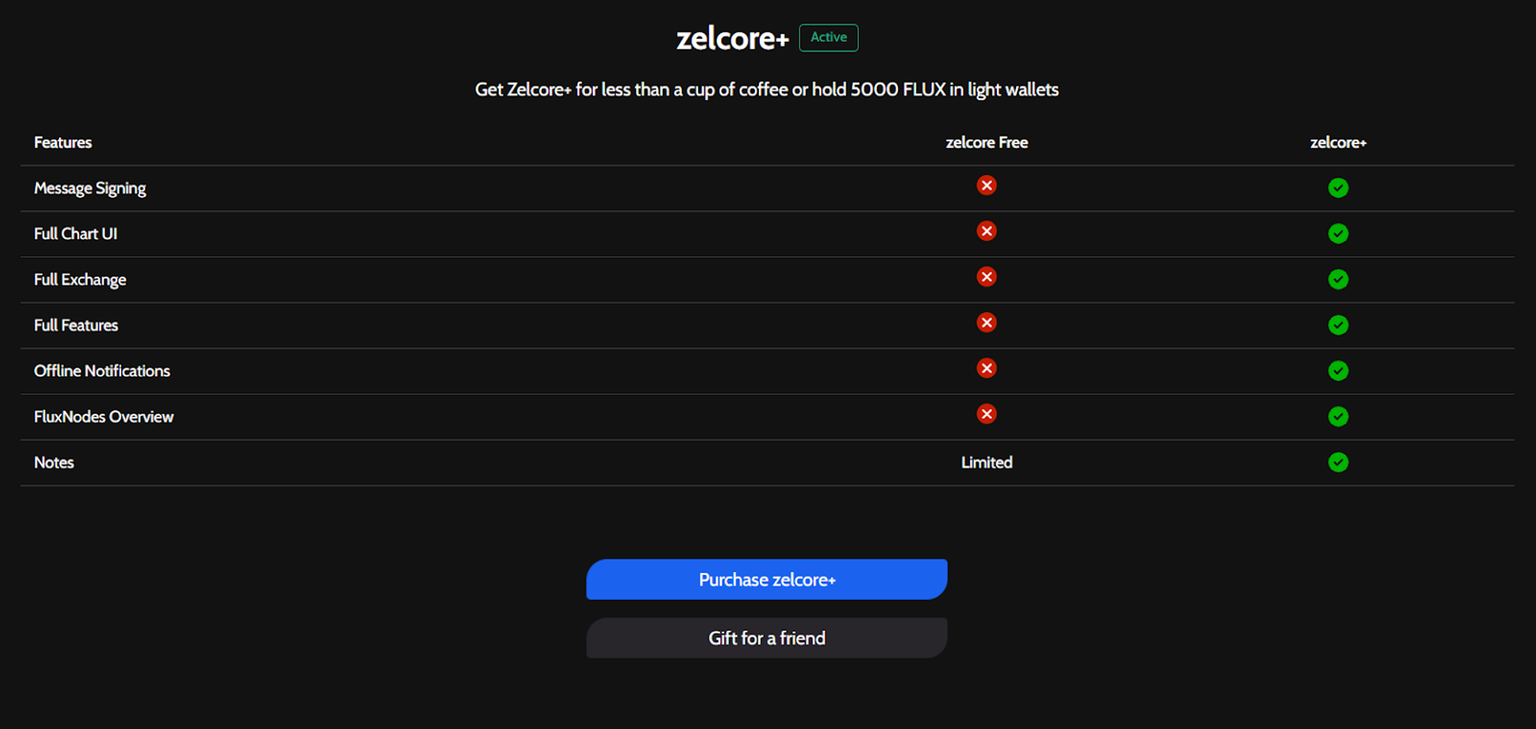
Confirm that your ZelCore+ subscription is active, which is essential for accessing advanced features. The subscription can be $5 per month or $48 annually, offering a cost-effective way to enhance your experience with added functionalities and support.
Step 10: Click login & sign Zel ID
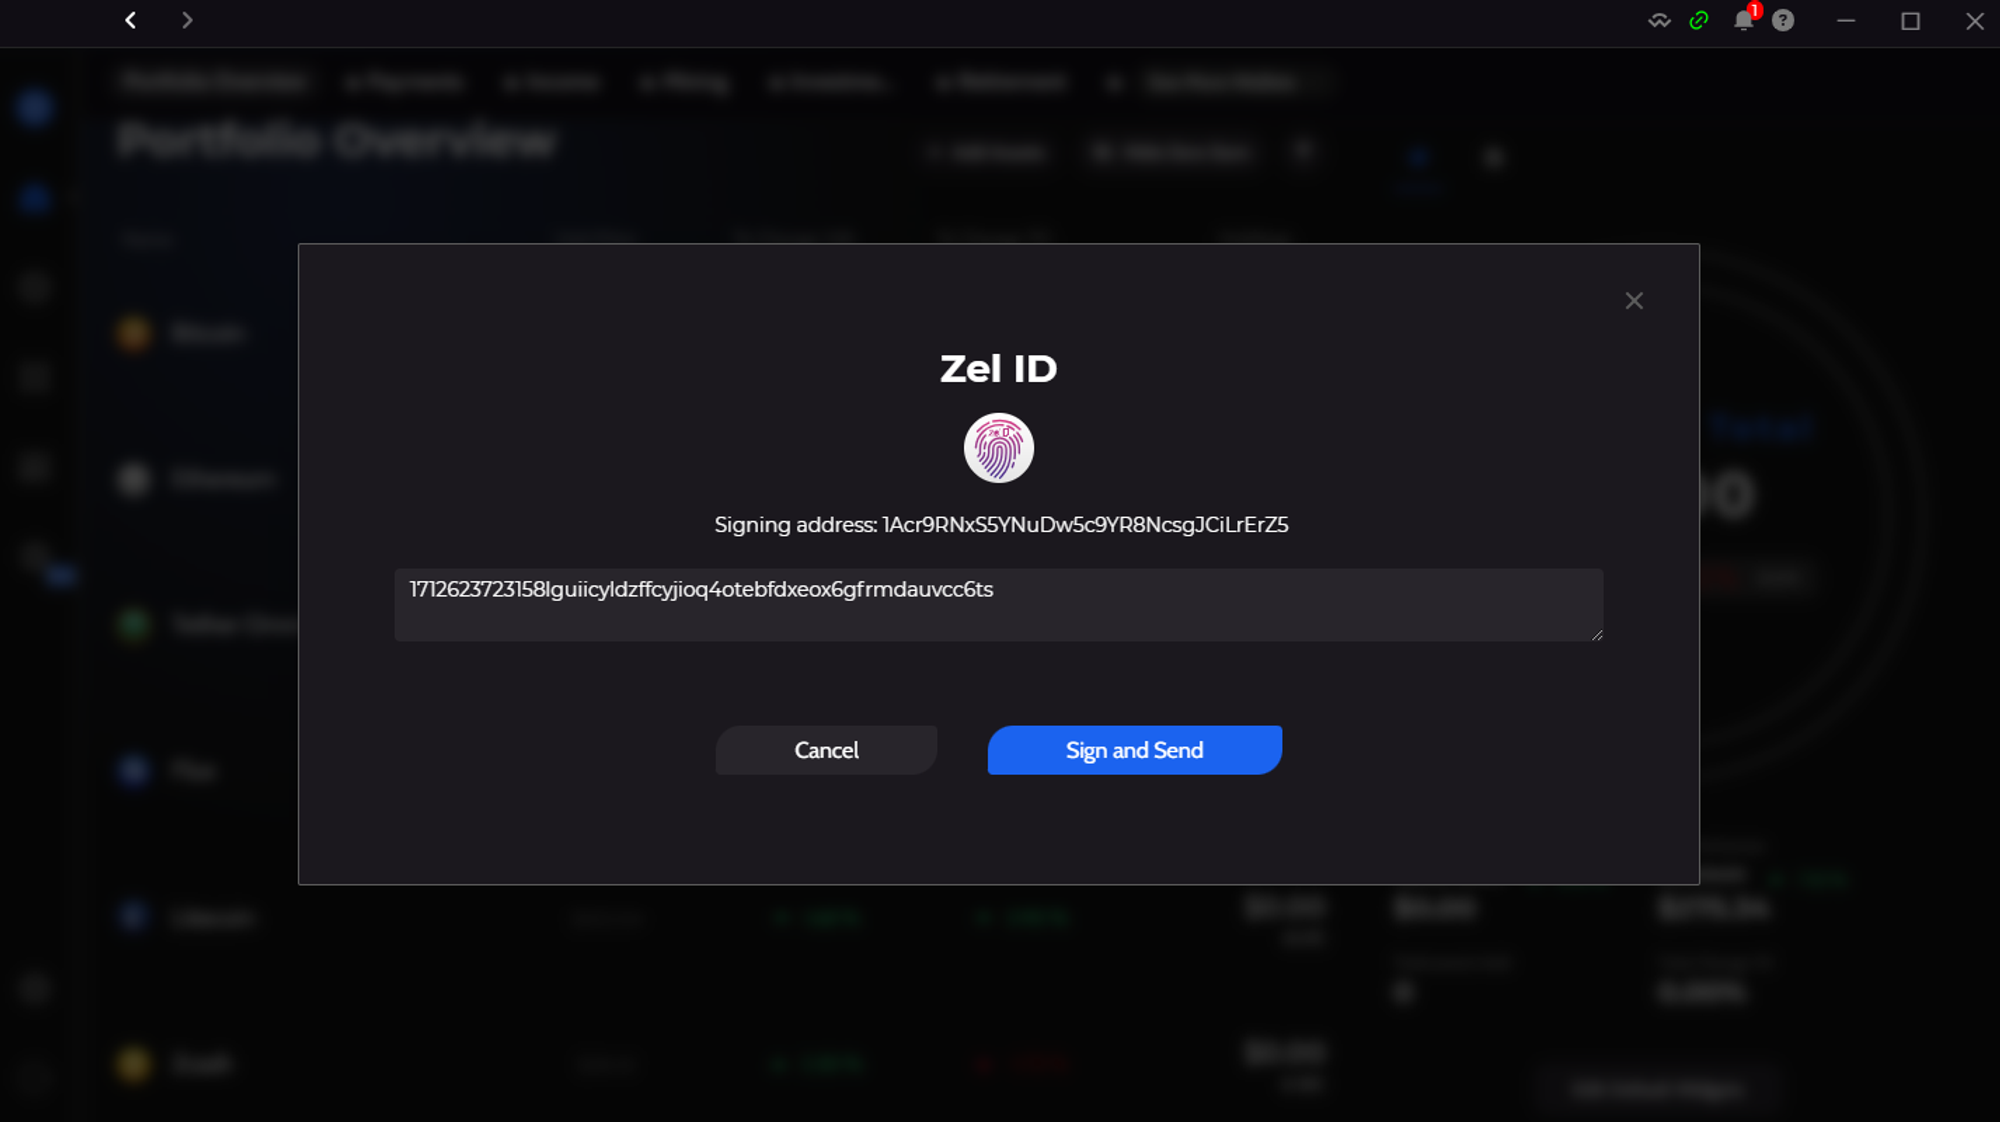
For this step, click on the "login" button and proceed to sign in with your Zel ID. This action is necessary for authentication and to proceed with the deployment process.
Step 11: Follow the registration steps and accept the costs & register wordpress
Now, proceed by following the registration steps presented to you. This includes accepting the associated costs for deploying WordPress. After acknowledging the fees, finalize the registration of your WordPress site, effectively integrating it with your chosen setup.
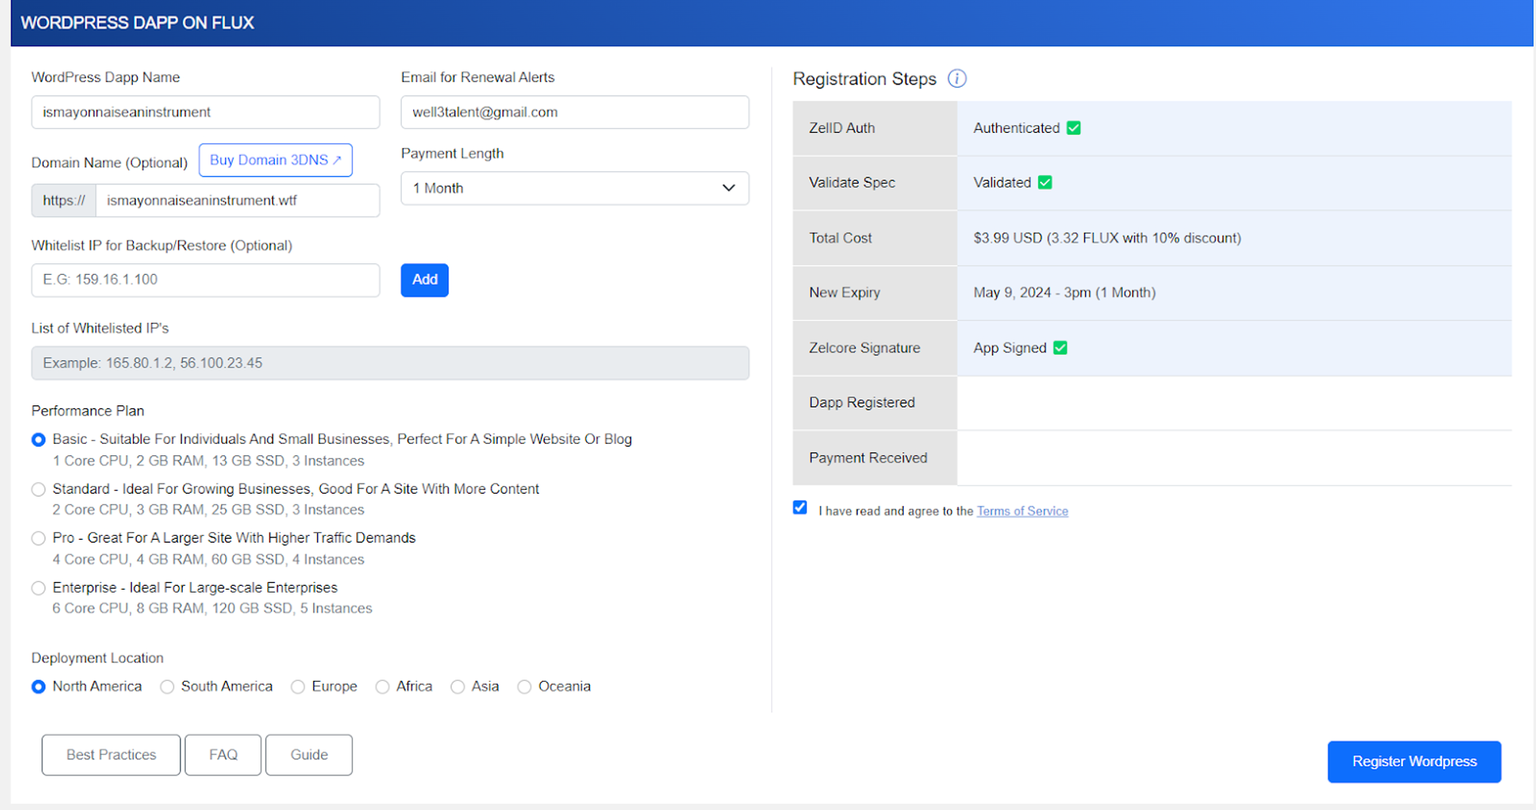
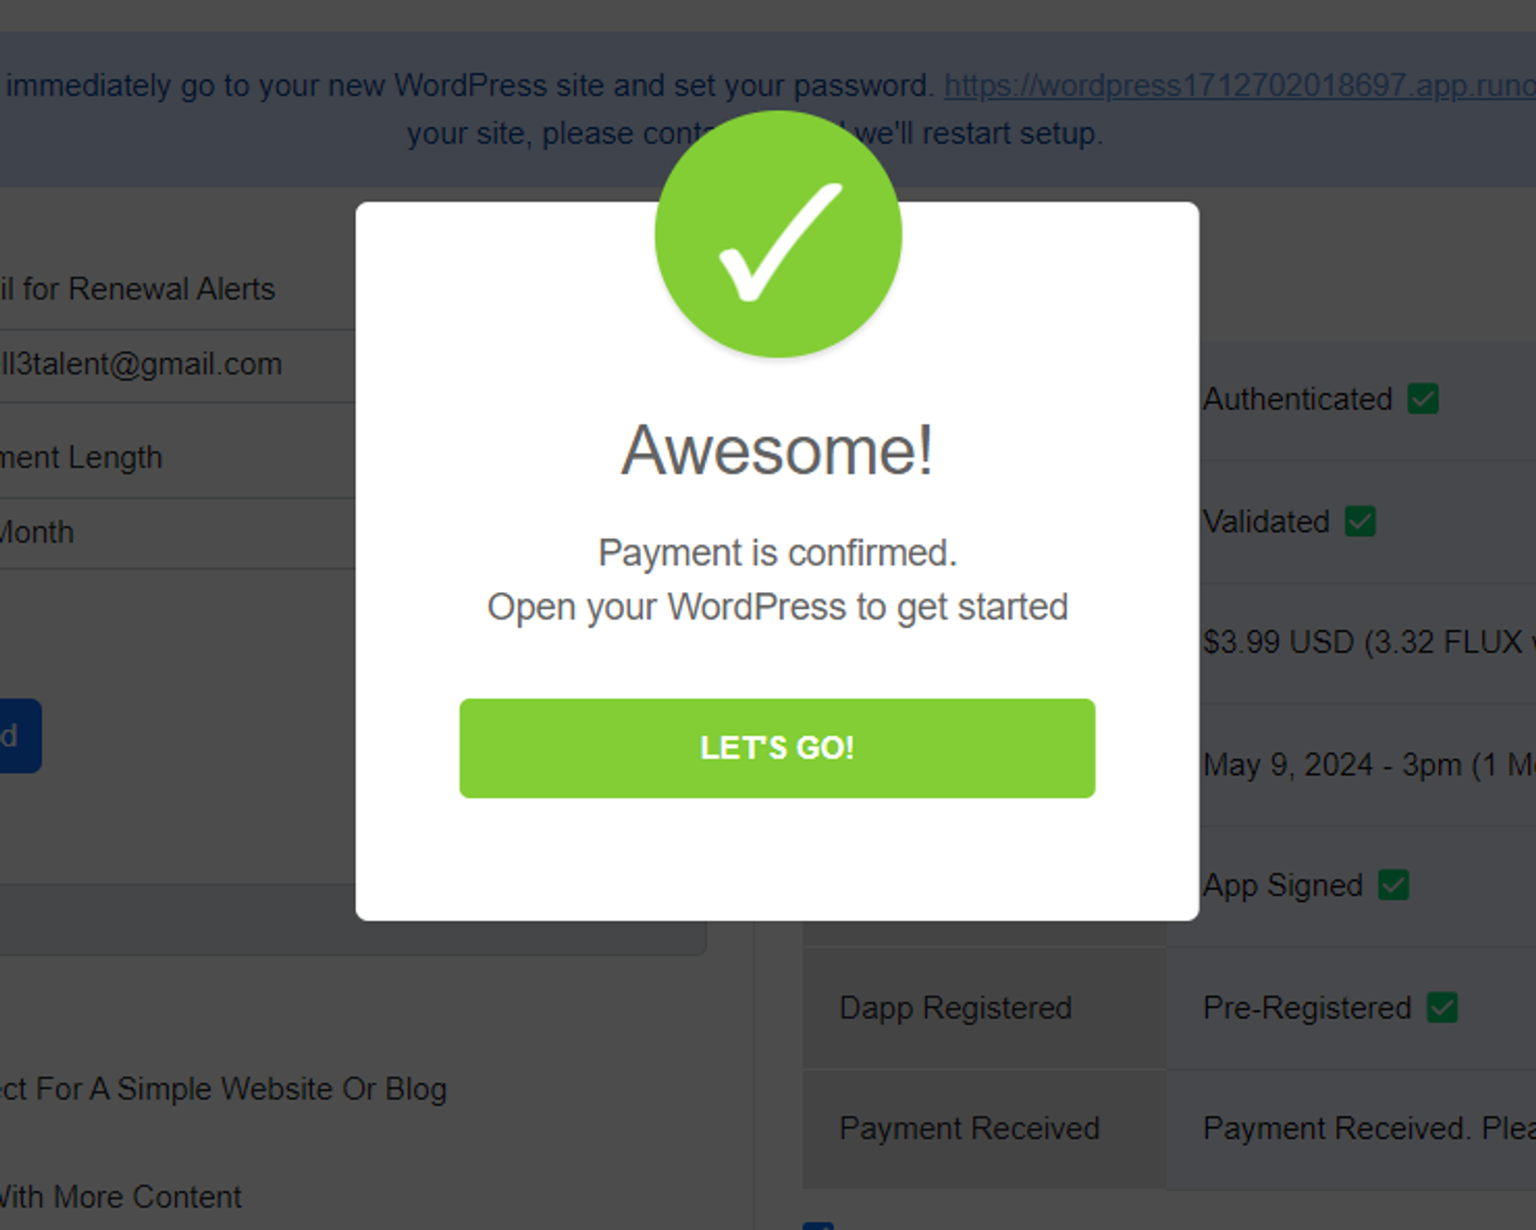
Step 12: Open Zelcore to Pay
At this point, open the ZelCore application to proceed with the payment process. This step is essential for completing the setup and activation of your WordPress site within the Flux ecosystem.
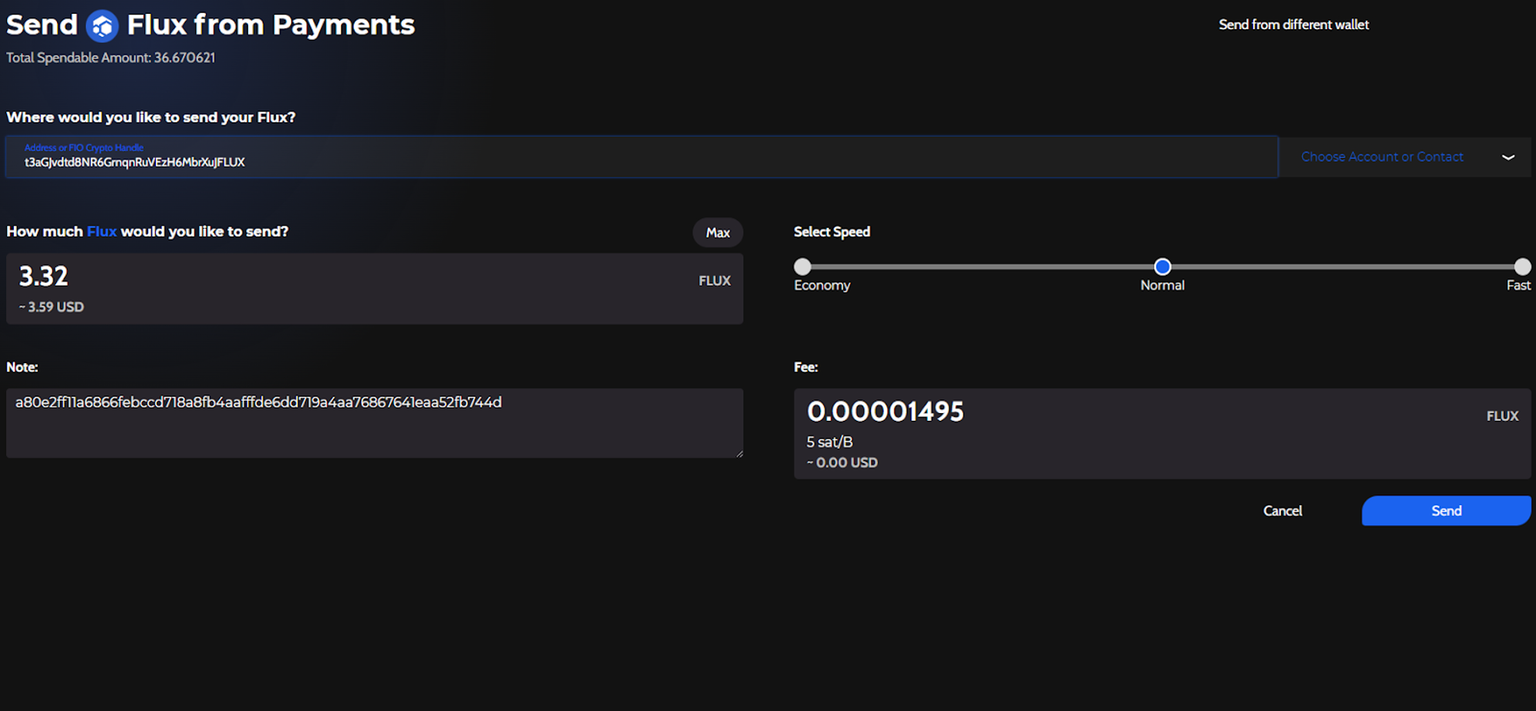
Step 13: Update Your 3DNS records to then host your Flux word press page
On cloud.runonflux.io, go to your Dapps and click on your domain.
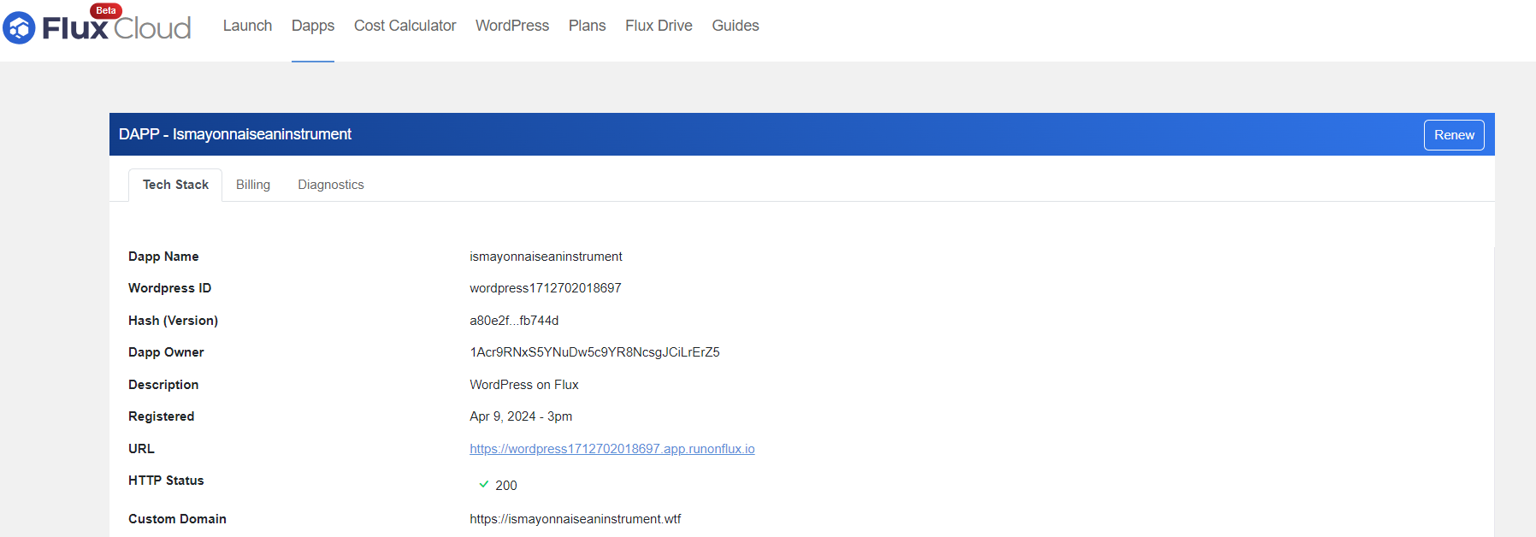
Once there, find your URL to then paste into the DNS records.
You will want to put in both an ALIAS and a CNAME.
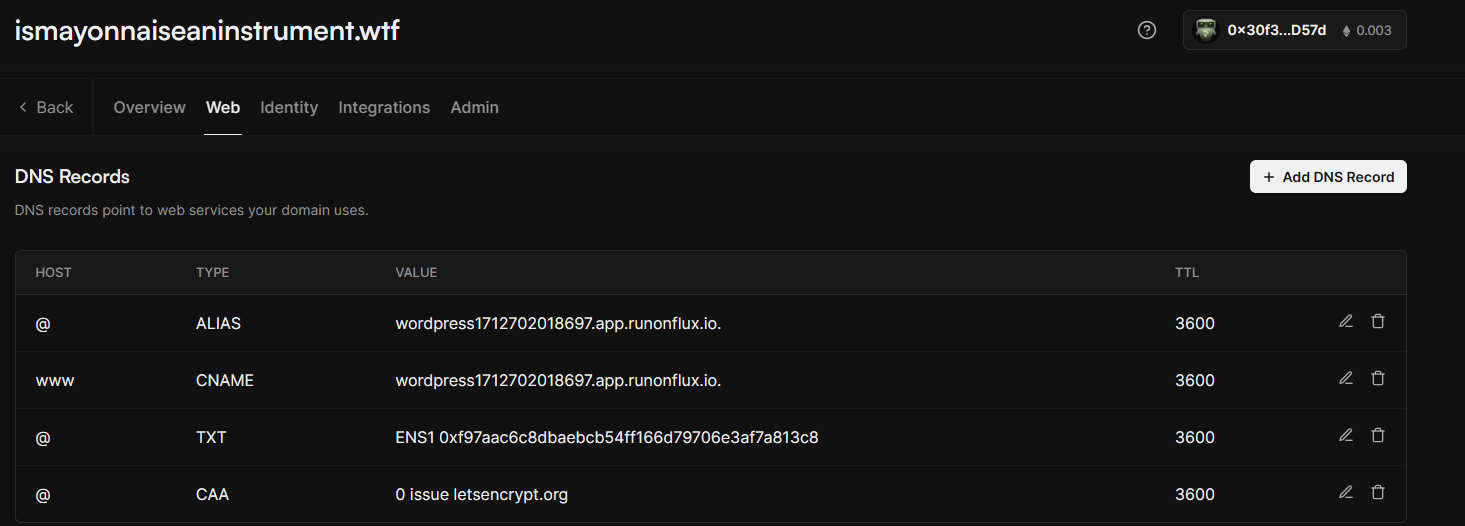
The final result should look like the above.
Step 14: Congrats you are now able to open your word press on your 3dns domain using Flux!
Congratulations! You have successfully integrated your WordPress site with your 3DNS domain via Flux. You're now set to manage and operate your WordPress site on the decentralized infrastructure provided by Flux, enjoying enhanced security, reliability, and performance.
Updated almost 2 years ago
